Advertisement
Hysteria Shader transforms Minecraft with moody lighting, crisp shadows, and cinematic color grading. Lightweight performance options, easy install for Iris or OptiFine, customizable presets for intense atmospheres and realistic water.
Hysteria Shader is designed to give Minecraft a cinematic, brooding look without forcing extreme hardware demands. It emphasizes mood over gaudy effects: soft volumetric fog, crisp directional shadows, subtle bloom, and color grading that turns ordinary biomes into atmospheric landscapes. Whether you want tense survival nights, cinematic screenshots, or immersive roleplay servers, Hysteria Shader offers a balanced mix of beauty and performance.
What makes Hysteria Shader special?
- Cinematic color grading: Tuned palettes for dusk, night, and storms that enhance mood.
- Balanced lighting & shadows: Strong contrast with clear shadow definition but configurable quality levels.
- Lightweight presets: “Performance”, “Balanced”, and “Cinematic” let players choose FPS vs. visuals.
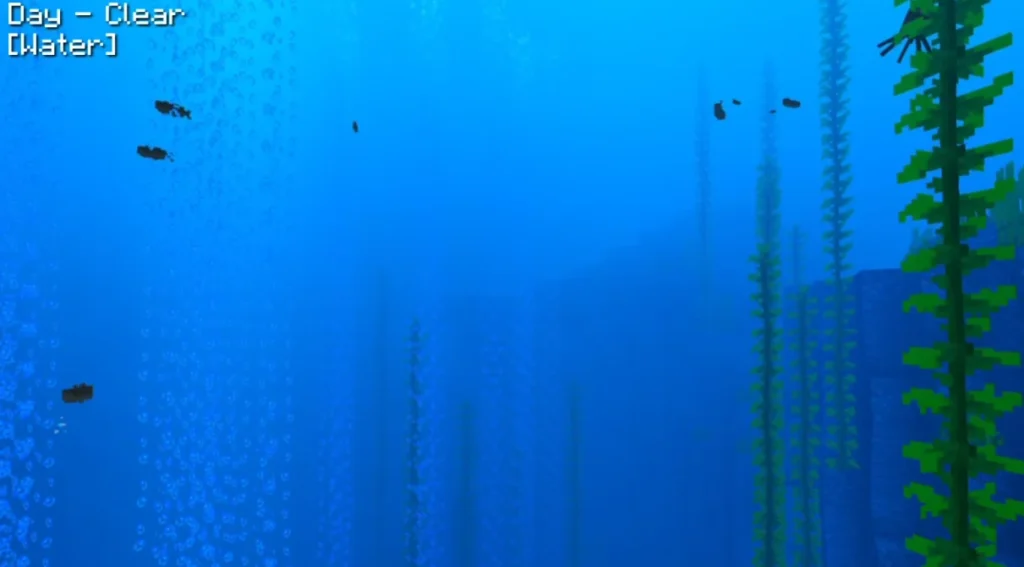
- Water & reflections: Natural-looking water with controlled reflections and specular highlights.
- Post-processing effects: Subtle bloom, film grain option, and depth of field for screenshots.
- Compatibility: Built to work with common shader loaders (Iris + Sodium) and OptiFine (with limitations).
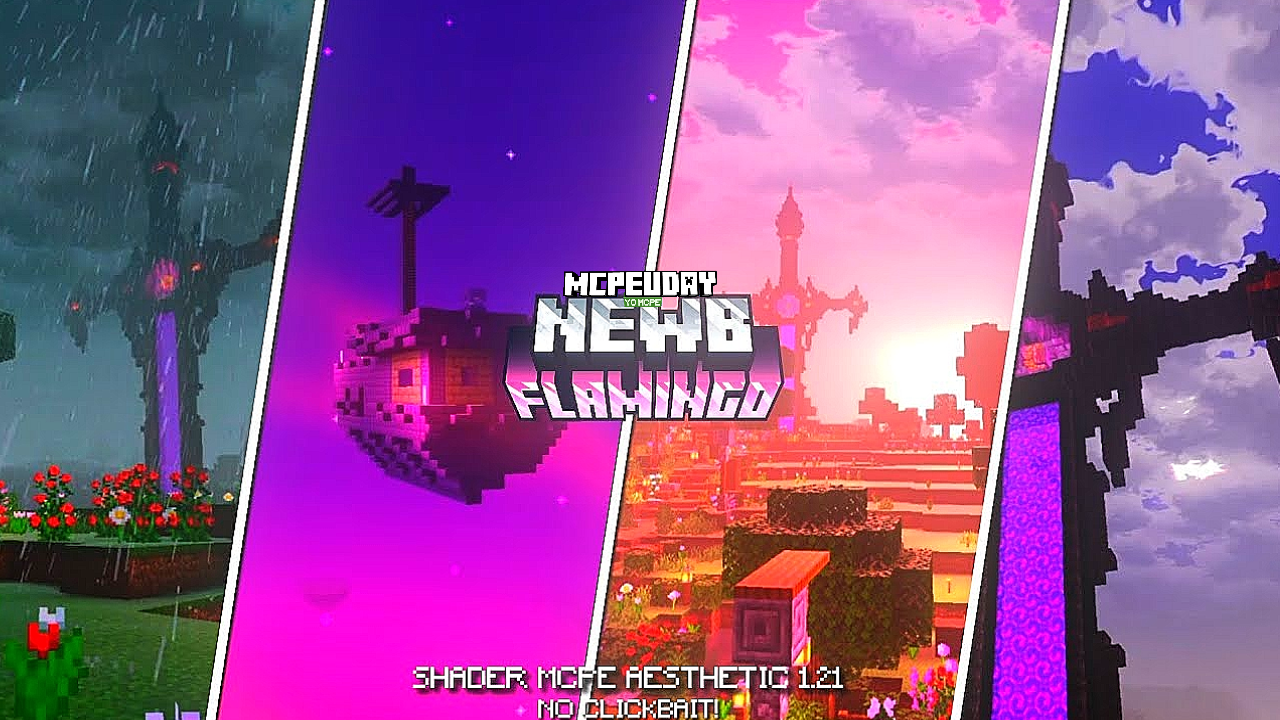
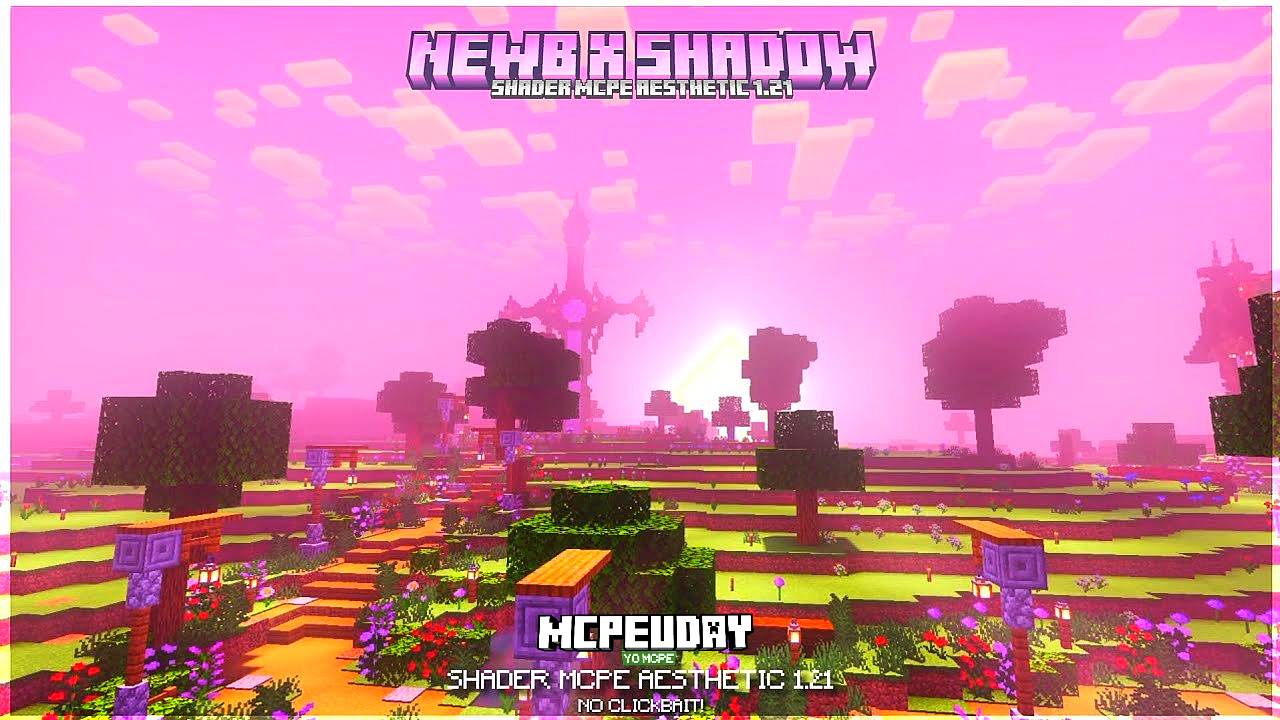
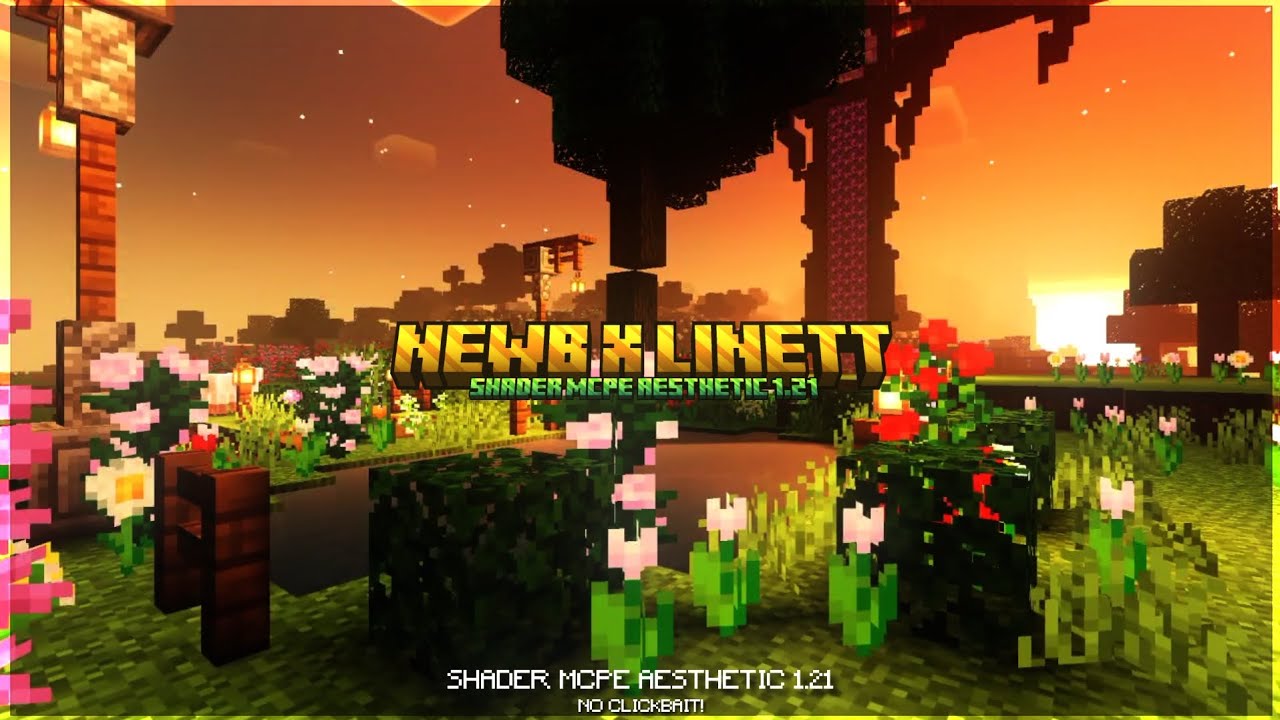
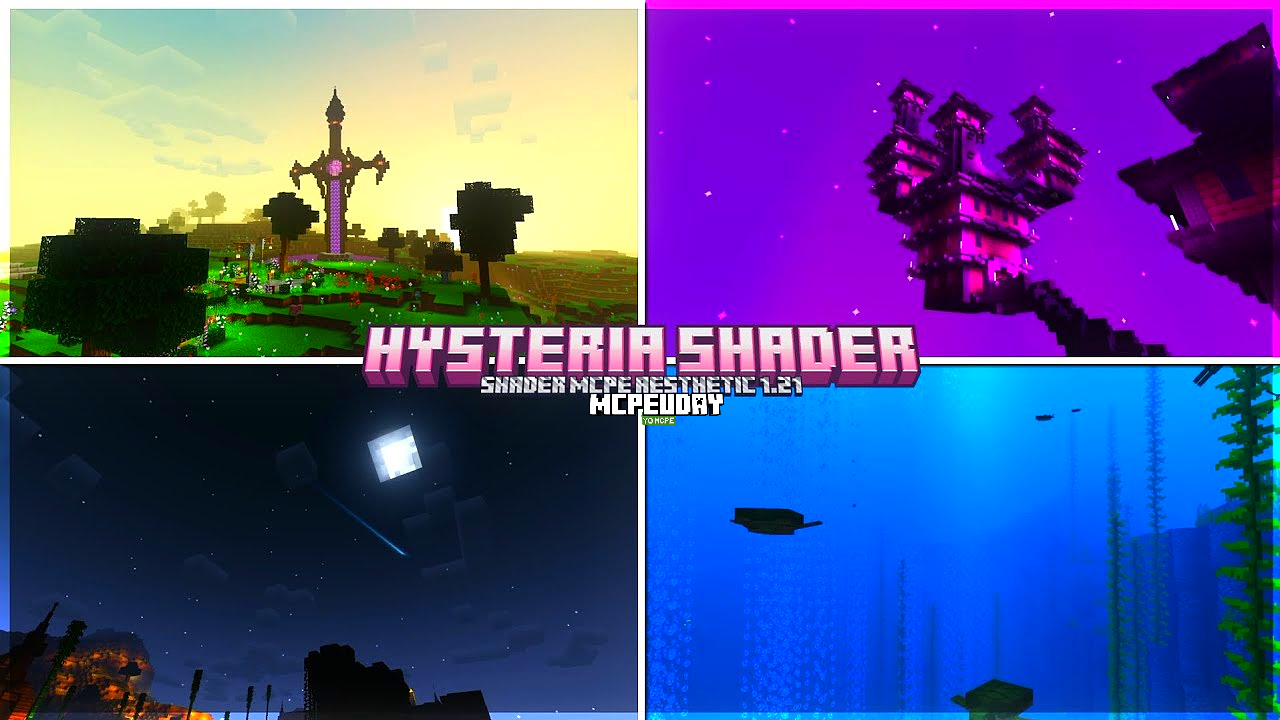
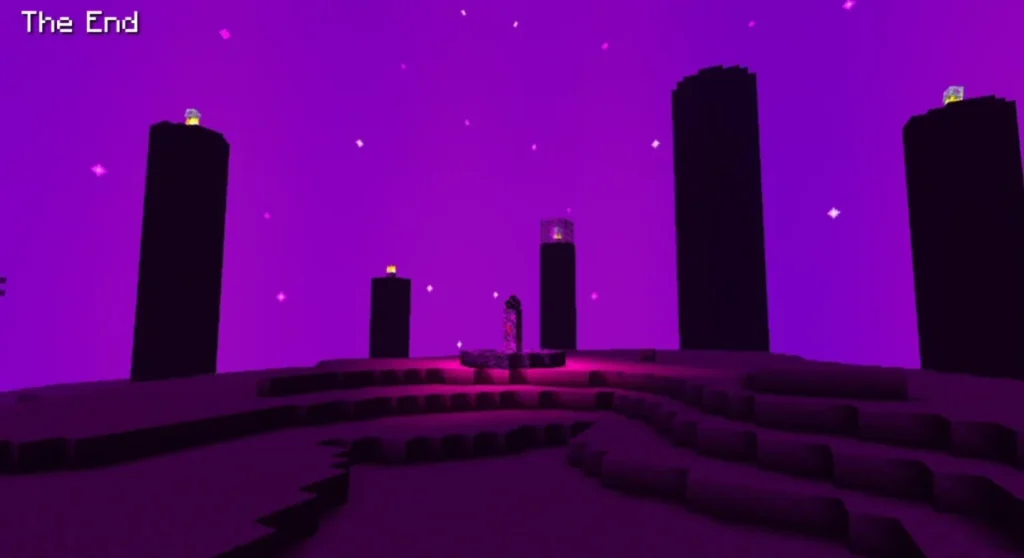
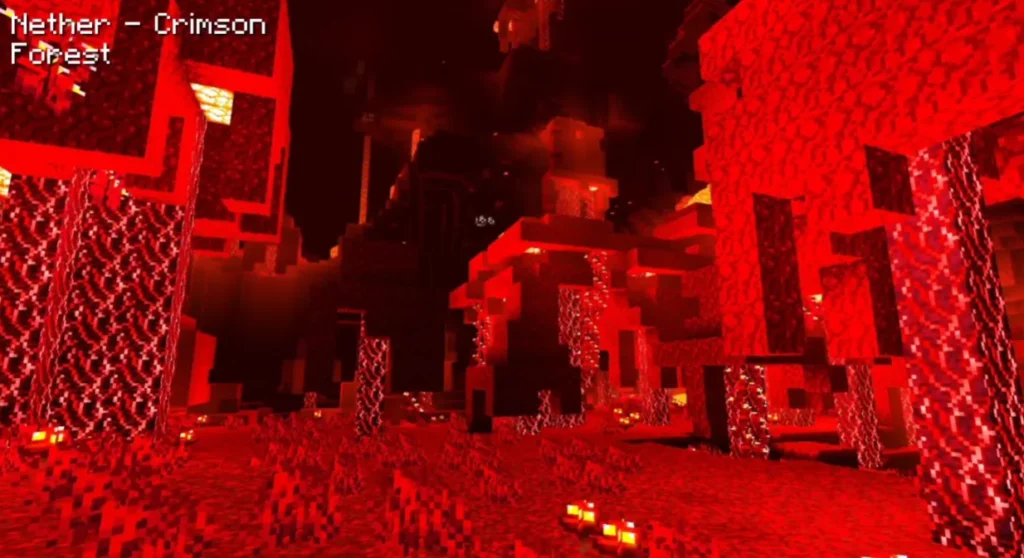
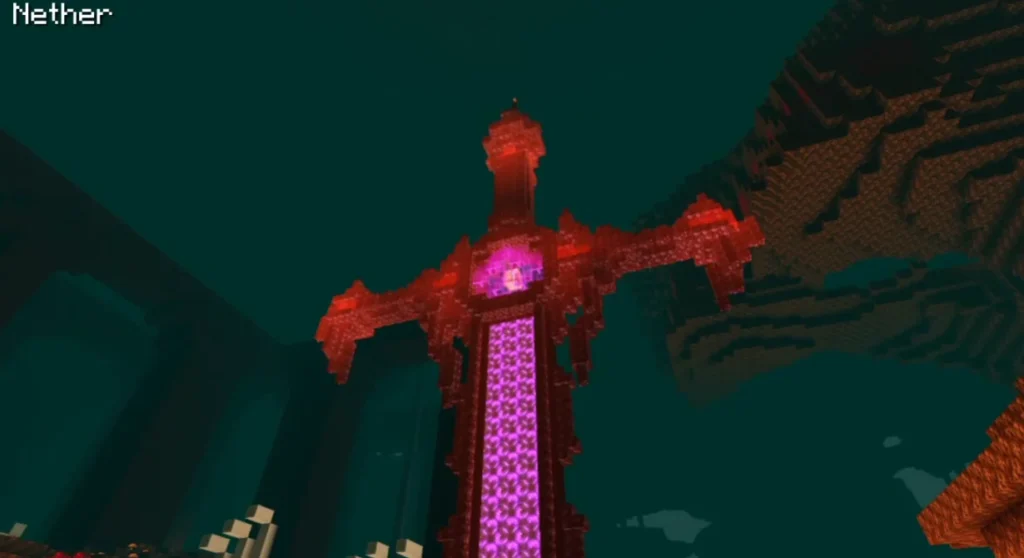
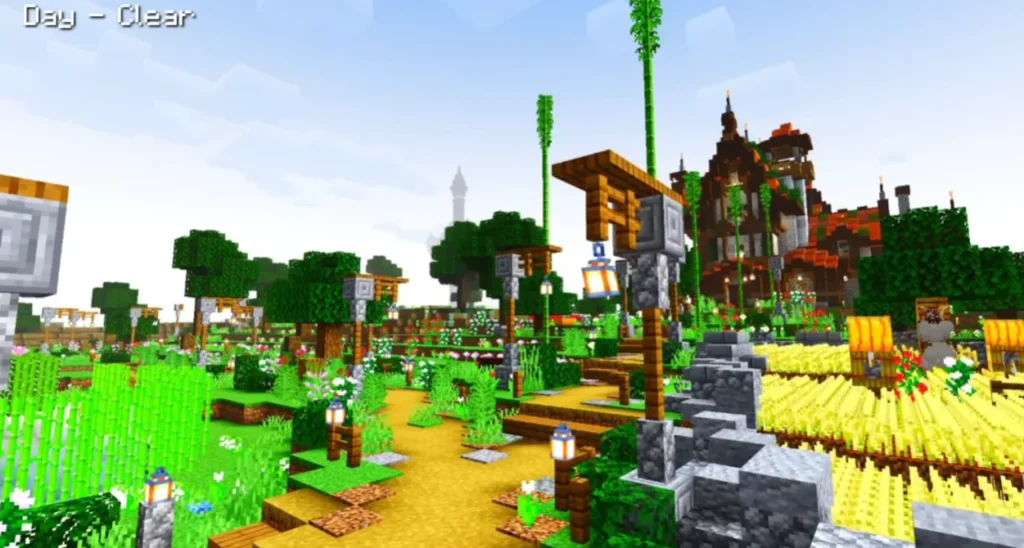
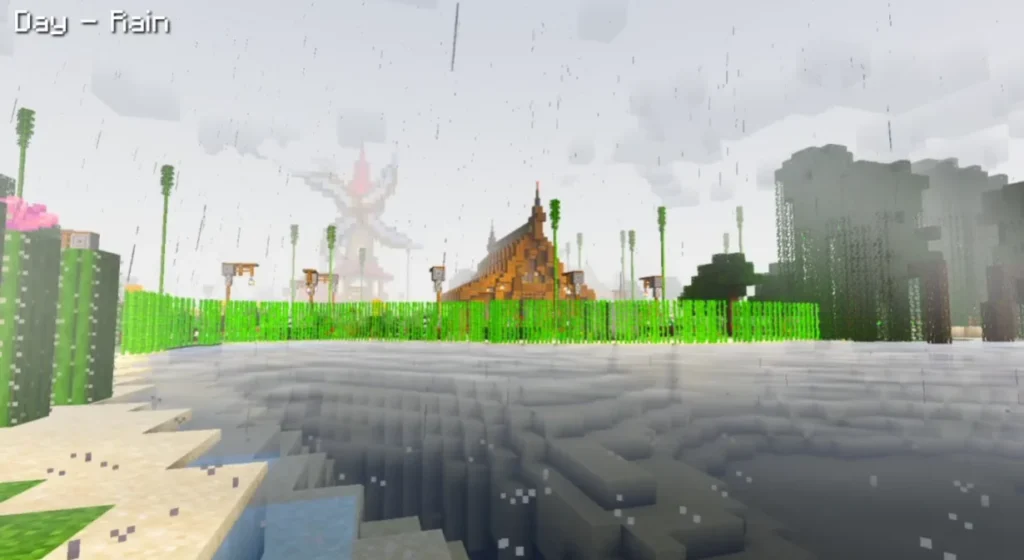
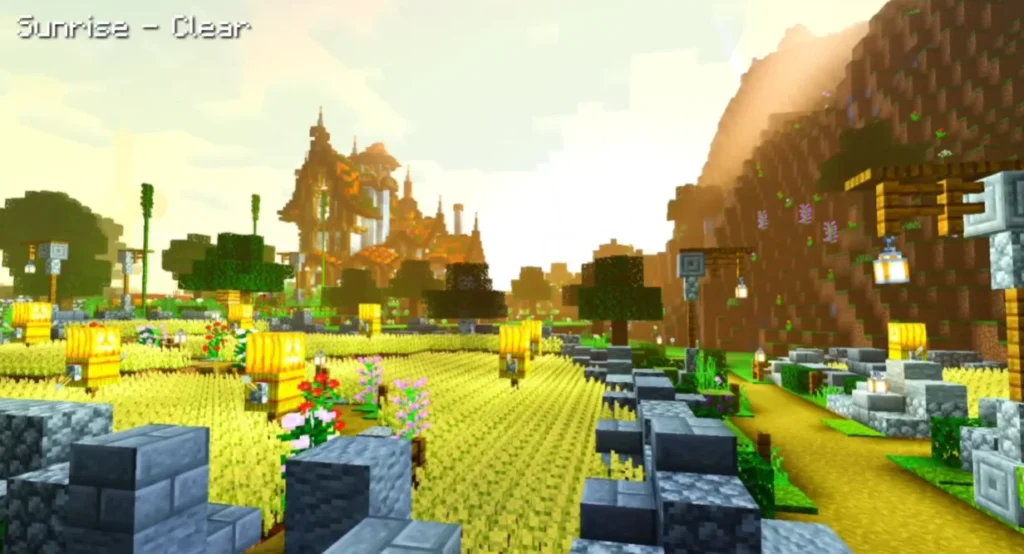
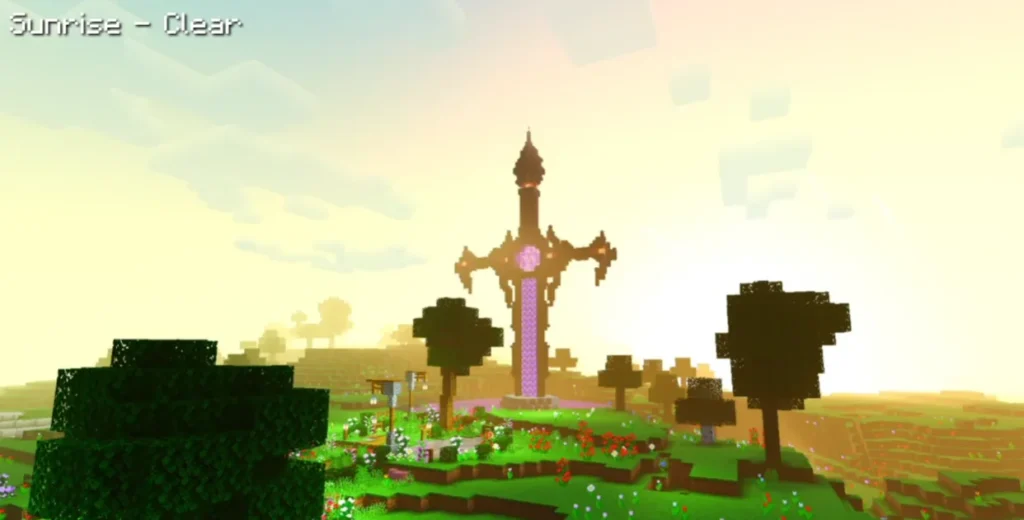
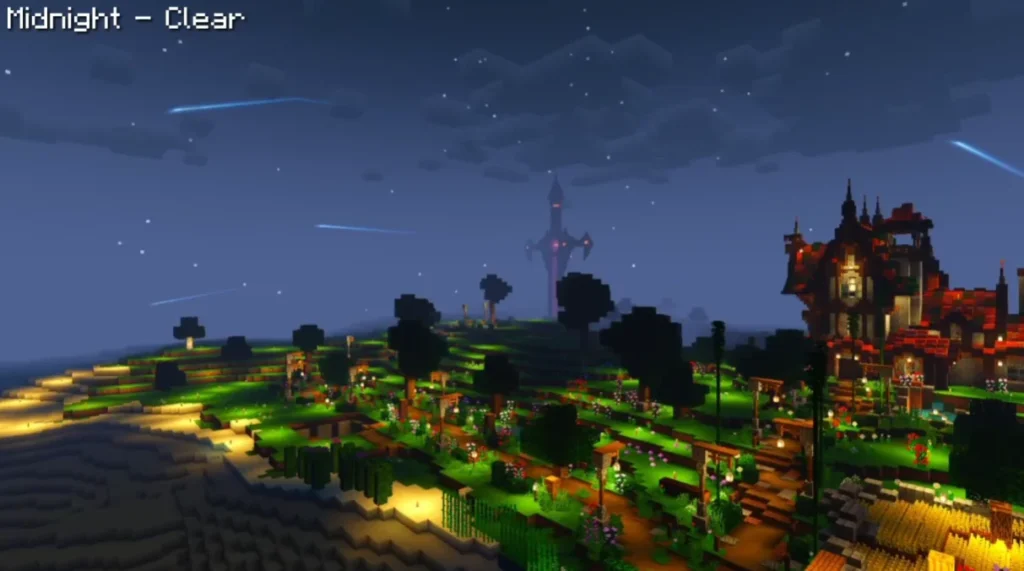
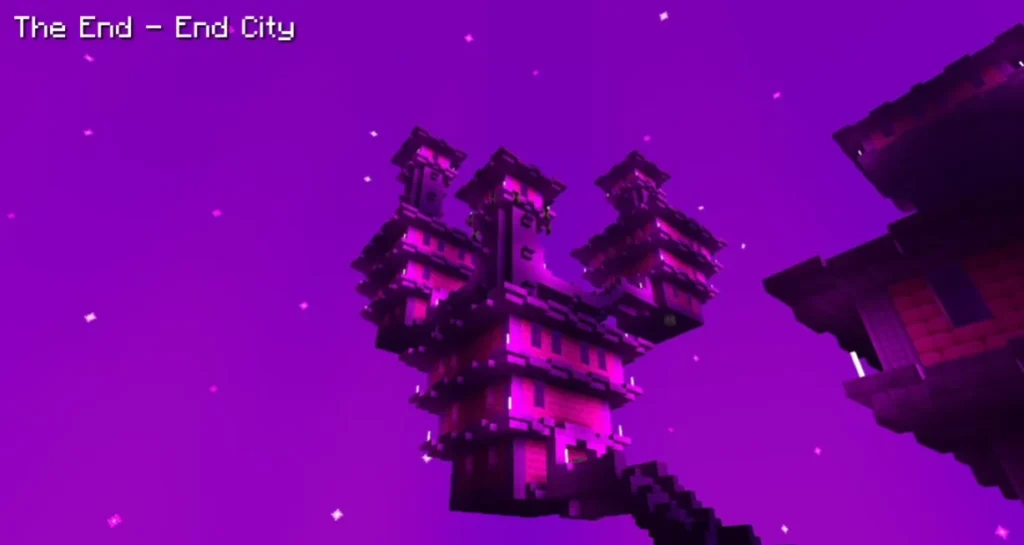
Screenshots:
Compatibility & Requirements
- Minecraft edition: Java Edition (recommended). Works best on 1.18+ and well on modern 1.19–1.20+ builds.
- Shader loaders:
- Iris + Sodium (Fabric or Quilt) — recommended for best performance and modern rendering pipeline.
- OptiFine — supported for players using OptiFine; some effects may be limited compared to Iris.
- GPU & RAM recommendations: see Performance section below.
- No mods required beyond the chosen shader loader, but resource packs and other performance mods can coexist.
Installation Guide — Two reliable methods
Make a backup of your .minecraft folder or profiles before installing mods or shader loaders.
A. Installation using Iris (recommended)
- Install Fabric or Quilt loader (choose the modloader for your Minecraft version).
- Install Sodium and Iris mods into the
modsfolder. - Launch Minecraft with the Fabric/Quilt profile to generate folders.
- Place the Hysteria Shader zip folder (rename to
hysteria.zipif needed) into theshaderpacksfolder inside.minecraft(or the equivalent for Fabric). - In Minecraft Options → Video Settings → Shaders, select Hysteria Shader and choose a preset (Performance/Balanced/Cinematic).
- Tweak settings (shadows, water reflections, bloom) from the shader GUI and Video Settings.
B. Installation using OptiFine
- Install OptiFine for your Minecraft version and run Minecraft once to generate folders.
- Place the Hysteria Shader zip in the
shaderpacksfolder. - Enable the shader from Options → Video Settings → Shaders.
- Adjust shader options; if you experience low FPS, select the “Performance” preset.
Best Settings for Different PC Tiers
Low-end (laptops, older GPUs)
- Preset: Performance
- Render Distance: 8–12 chunks
- Shadow Quality: Low
- Water Reflections: Off or Low
- Anti-Aliasing: Off
- JVM RAM: 4–6 GB allocated
Mid-range (modern integrated or GTX 10-series)
- Preset: Balanced
- Render Distance: 12–16 chunks
- Shadow Quality: Medium
- Water Reflections: Medium
- Post Processing: Bloom Low, AO Medium
- JVM RAM: 6–8 GB allocated
High-end (RTX / high-end GPUs)
- Preset: Cinematic
- Render Distance: 16–32 chunks
- Shadow Quality: High/Ultra
- Water Reflections & Caustics: On
- Post Processing: Bloom, Depth of Field on for screenshots
- Consider disabling film grain if you prefer crisp frames
Performance Tips & Optimizations
- Use Iris + Sodium for the best FPS improvements with modern shaders.
- Reduce render distance before lowering shader quality for a better visual-to-performance ratio.
- Lower shadow resolution instead of disabling shadows entirely—keeps mood with less cost.
- Close background apps and enable GPU power-saving profiles only when necessary.
- For streaming, choose the “Balanced” preset and reduce water and shadow fidelity.
Common Issues & Troubleshooting
- Shader not appearing in menu: Ensure the shader zip is inside the
shaderpacksfolder and you launched the correct profile. - Black screen / crashes: Update GPU drivers and ensure the shader is compatible with your Minecraft version. Try switching to the “Performance” preset.
- Low FPS after enabling shader: Use Iris + Sodium, reduce render distance, and disable expensive features like high-res shadows and depth of field.
- Visual glitches with OptiFine: Some features rely on Iris’ GPU hooks—switch to Iris if you experience artifacts.
Creative Uses & Photo Mode Tips
- Golden Hour Shots: Set time to dusk/dawn and use the Cinematic preset with depth of field for dramatic screenshots.
- Horror Maps & Roleplay: Use low ambient light, high contrast, and dense fog for tense atmospheres.
- Livestream Mood: Balanced preset provides consistent visuals without extreme FPS drops—ideal for live play.
Comparison — Hysteria Shader vs. Generic Shader Packs
- Visual identity: Hysteria focuses on mood and color grading rather than hyper-realist reflections.
- Performance: Offers lighter presets, making it more accessible on mid-range systems.
- Customization: Presets and fine-grain GUI controls make tuning easier for non-technical users.
—
– Hysteria Shader DOWNLOAD –
—
—
FAQ (Short & Helpful)
Q: Is Hysteria Shader free to use?
A: Most shader packs like Hysteria are distributed free; always respect the creator’s license and credits.
Q: Can I use Hysteria on servers?
A: Yes — shaders are client-side. Server-side compatibility is unaffected, but some server rules restrict certain visuals for competitive play.
Q: Will Hysteria work with resource packs?
A: Yes. Resource packs and shaders complement each other; use medium-to-high texture packs for best synergy.
Final thoughts & author note (EEAT)
Hysteria Shader is an excellent choice when you want cinematic mood without the full hardware penalty of ultra-realistic shaders. For best results, run it with Iris + Sodium and pick a preset based on your hardware. The guidance above is based on typical shader behavior and proven optimization practices: start with small adjustments, test presets, and tune for your preferred balance of beauty and frame rate.