If you’ve been browsing shader packs for Minecraft, you’ve likely come across Solitude Shader — one of the most elegant shader packs that makes your game look beautiful without huge performance loss.
In this guide, I’ll cover:
✔ What Solitude Shader is
✔ How it works
✔ How to install it
✔ Best settings for smooth FPS
✔ Pros, cons, and whether it’s worth using
Let’s jump in.
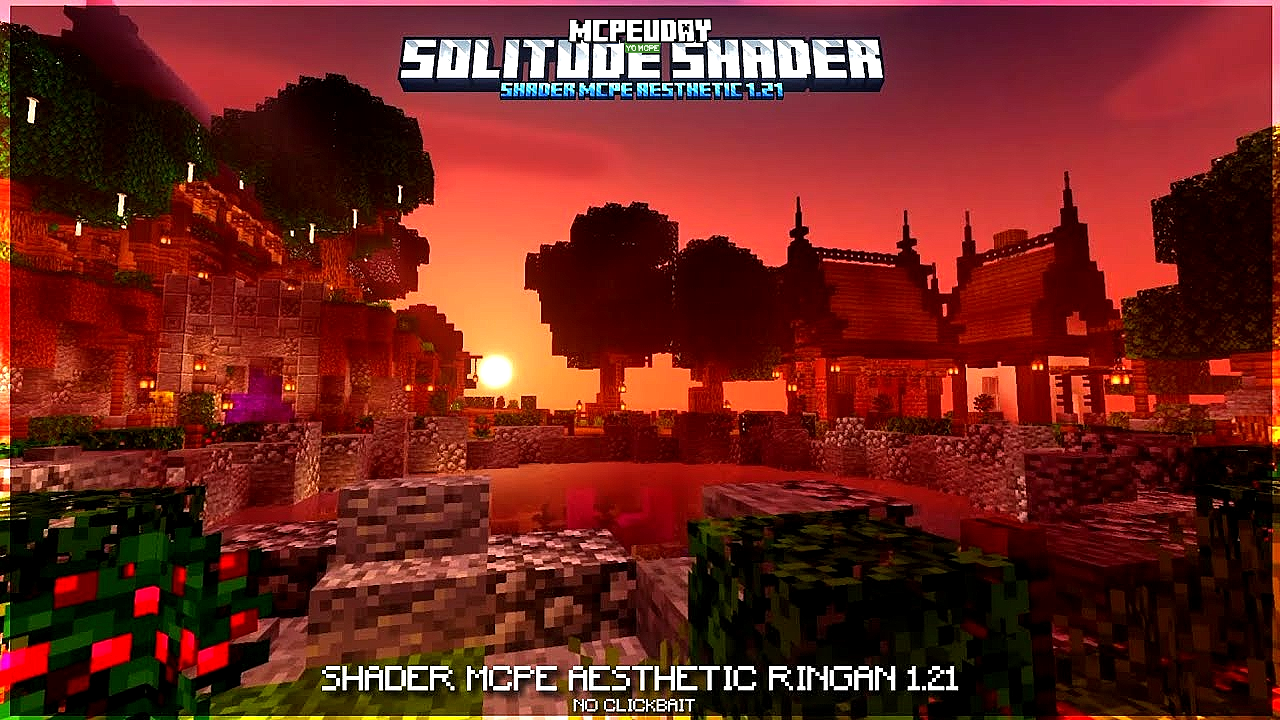
🔥 What Is Solitude Shader?
Solitude Shader is a shader pack for Minecraft that focuses on:
✔ Elegant lighting
✔ Soft shadows
✔ Smooth water
✔ Clear skies and natural tones
Unlike ultra-realistic shaders (which require powerful GPUs), Solitude aims for balance — good visuals with decent performance.

Think of it like:
“A visual enhancer that keeps the game smooth.”
🧠 How Solitude Shader Works
Shaders change how Minecraft renders:
✨ Light
✨ Shadows
✨ Sky
✨ Water
✨ Ambient effects
Solitude Shader delivers:
✔ Subtle bloom
✔ Natural colors
✔ Gentle clouds
✔ Vanilla-like atmosphere
If you want beauty with performance, this is a popular choice.
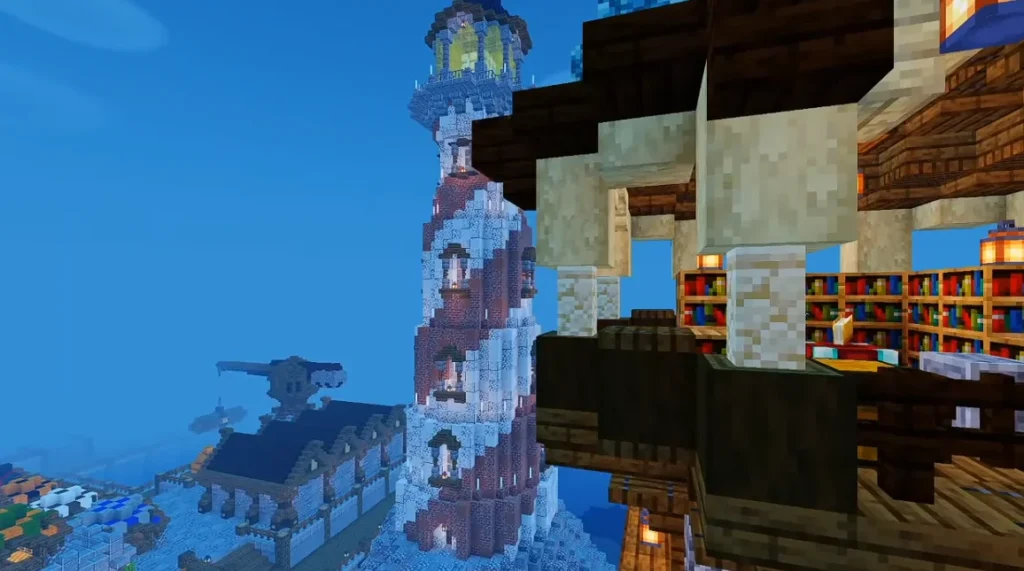
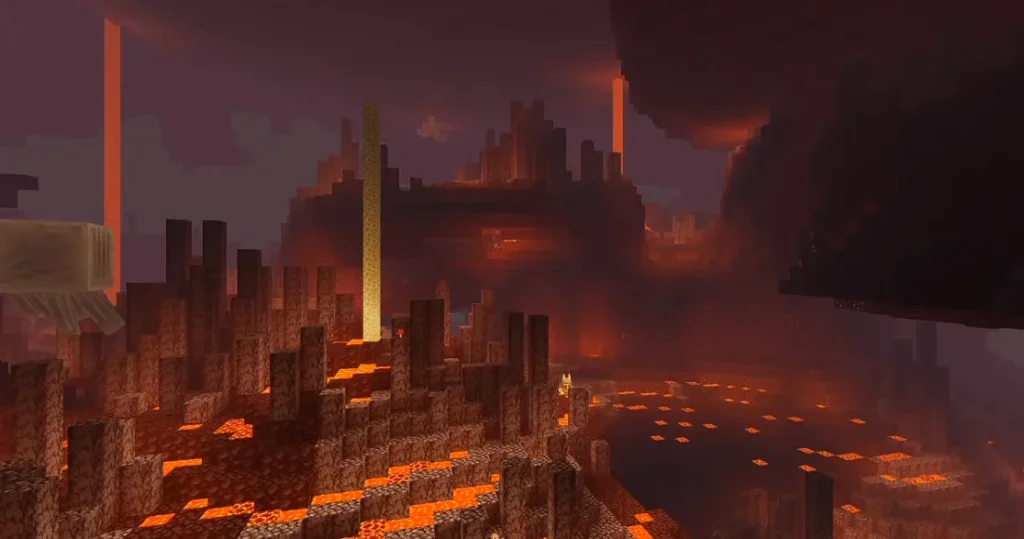
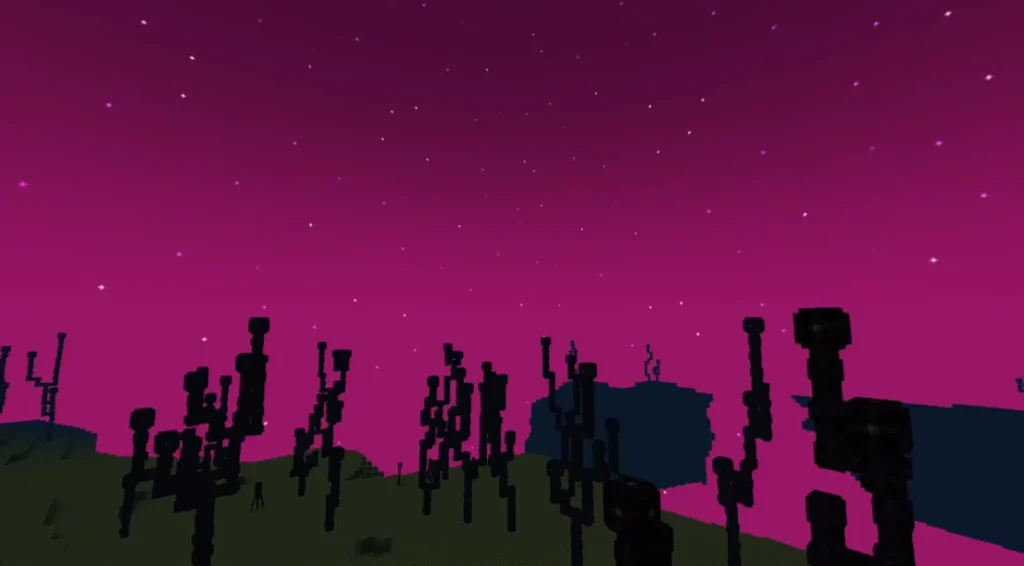
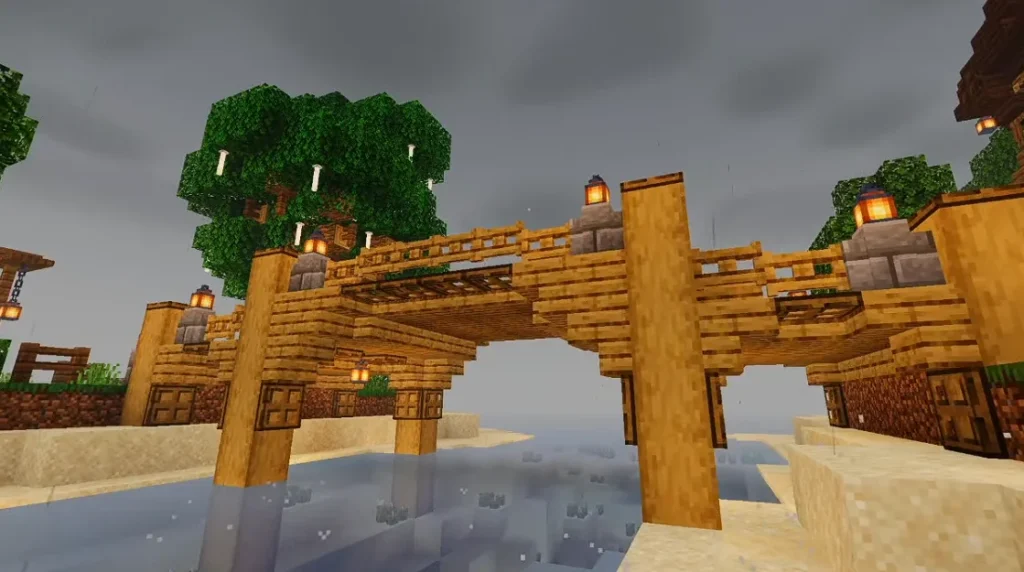
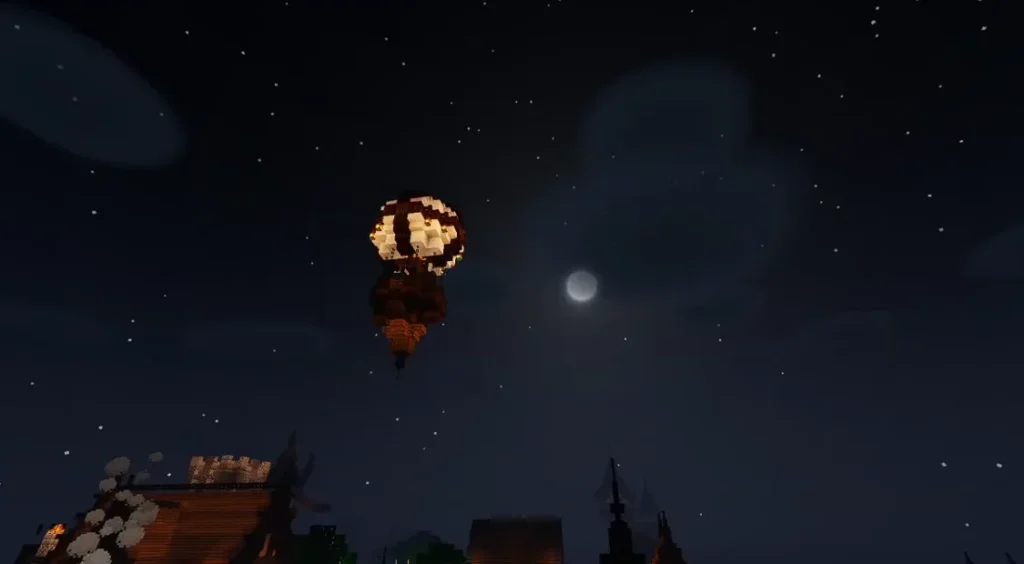
Screenshots:-
📌 Why Beginners Love Solitude Shader
Here’s why Solitude is beginner-friendly:
✔ Works well even on mid-range PCs
✔ Easy to install
✔ Doesn’t require advanced tweaks
✔ Realistic — but not overwhelming
✔ Great balance of visuals and speed
It’s especially recommended if you want your world to feel more immersive without lagging the game.
🛠️ How to Install Solitude Shader (Step-by-Step)
Follow these simple steps:
✅ Step 1: Install OptiFine or Iris
You need one of these shader loaders:
✔ OptiFine
OR
✔ Iris Shaders (for Fabric)
Launch Minecraft once after installing.
✅ Step 2: Download Solitude Shader
Get the latest Solitude Shader .zip file (don’t unzip it).
This goes into your shaders folder.
✅ Step 3: Open Minecraft → Options → Video Settings → Shaders
Click:
📁 Shaders Folder
Paste the downloaded .zip file there.
✅ Step 4: Select the Shader
Back in Minecraft, click:
👉 Solitude Shader
Wait a few moments while it loads — done!
🎚️ Best Solitude Shader Settings (For Smooth FPS)
Shader packs can be heavy if not tuned properly. Here are recommended settings for most systems:
| Setting | Recommended |
|---|---|
| Shadow Quality | Medium/Low |
| Cloud | Off (if low FPS) |
| Render Quality | 0.8x – 1.0x |
| Volumetric Lighting | Off |
| Water Ripple | On/Off (personal preference) |
| Motion Blur | Off |
These settings help keep smooth gameplay while still looking good.
📊 Expected Performance Impact
Here’s a rough idea of how Solitude Shader affects FPS:
| PC Type | Vanilla | With Solitude |
|---|---|---|
| Low-end Laptop | ~70–90 FPS | ~35–55 FPS |
| Mid-range PC | ~140–180 FPS | ~90–120 FPS |
| High-end PC | ~250+ FPS | ~160–200+ FPS |
Results vary based on GPU and CPU, but Solitude is lighter than most ultra-realistic shaders.
⭐ Pros & Cons at a Glance
👍 Pros
✔ Beautiful lighting
✔ Good performance balance
✔ Easy to install
✔ Works on many system types
✔ Cleaner atmosphere than vanilla
👎 Cons
✘ Not as dramatic as heavy shaders
✘ Some effects may feel subtle
✘ Slight frame drop on weaker PCs
💡 Tips to Boost Performance
If you’re still feeling lag, try these:
✔ Lower render distance in settings
✔ Turn off volumetric lighting
✔ Reduce shadow quality
✔ Close background apps
✔ Use OptiFine performance options
These help a lot even before tuning the shader itself.
❓ Common Beginner Questions
Q: Do I need a powerful PC?
➡️ Not really. Solitude is designed for mid-range and even low-end GPUs if you adjust settings.
Q: Does it work with mods?
➡️ Yes — if the shader loader (OptiFine/Iris) supports your mod setup.
Q: Can I combine with resource packs?
➡️ Yes — just make sure pack resolution isn’t too high (64x–128x recommended).
🌅 Should You Use Solitude Shader in Minecraft?
Yes — if you want:
✔ Clean visuals
✔ Smoother gameplay
✔ Better lighting without major FPS loss
✔ A balanced shader experience
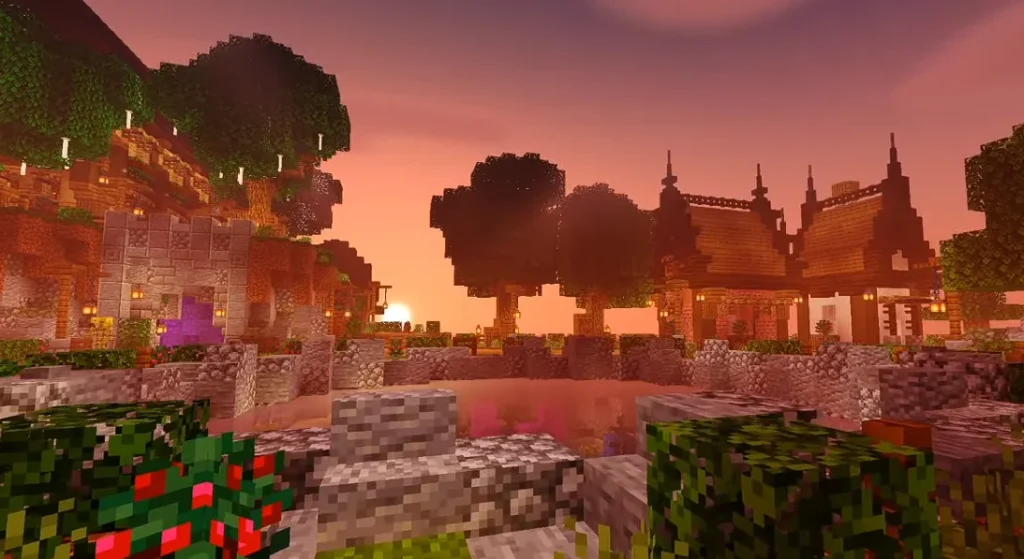
It’s one of the best shader packs for players who want beauty and performance, especially if you’re new to shader installations. Screenshots:-
kwguxivsrhgyhrsujkheggvsfqlzen