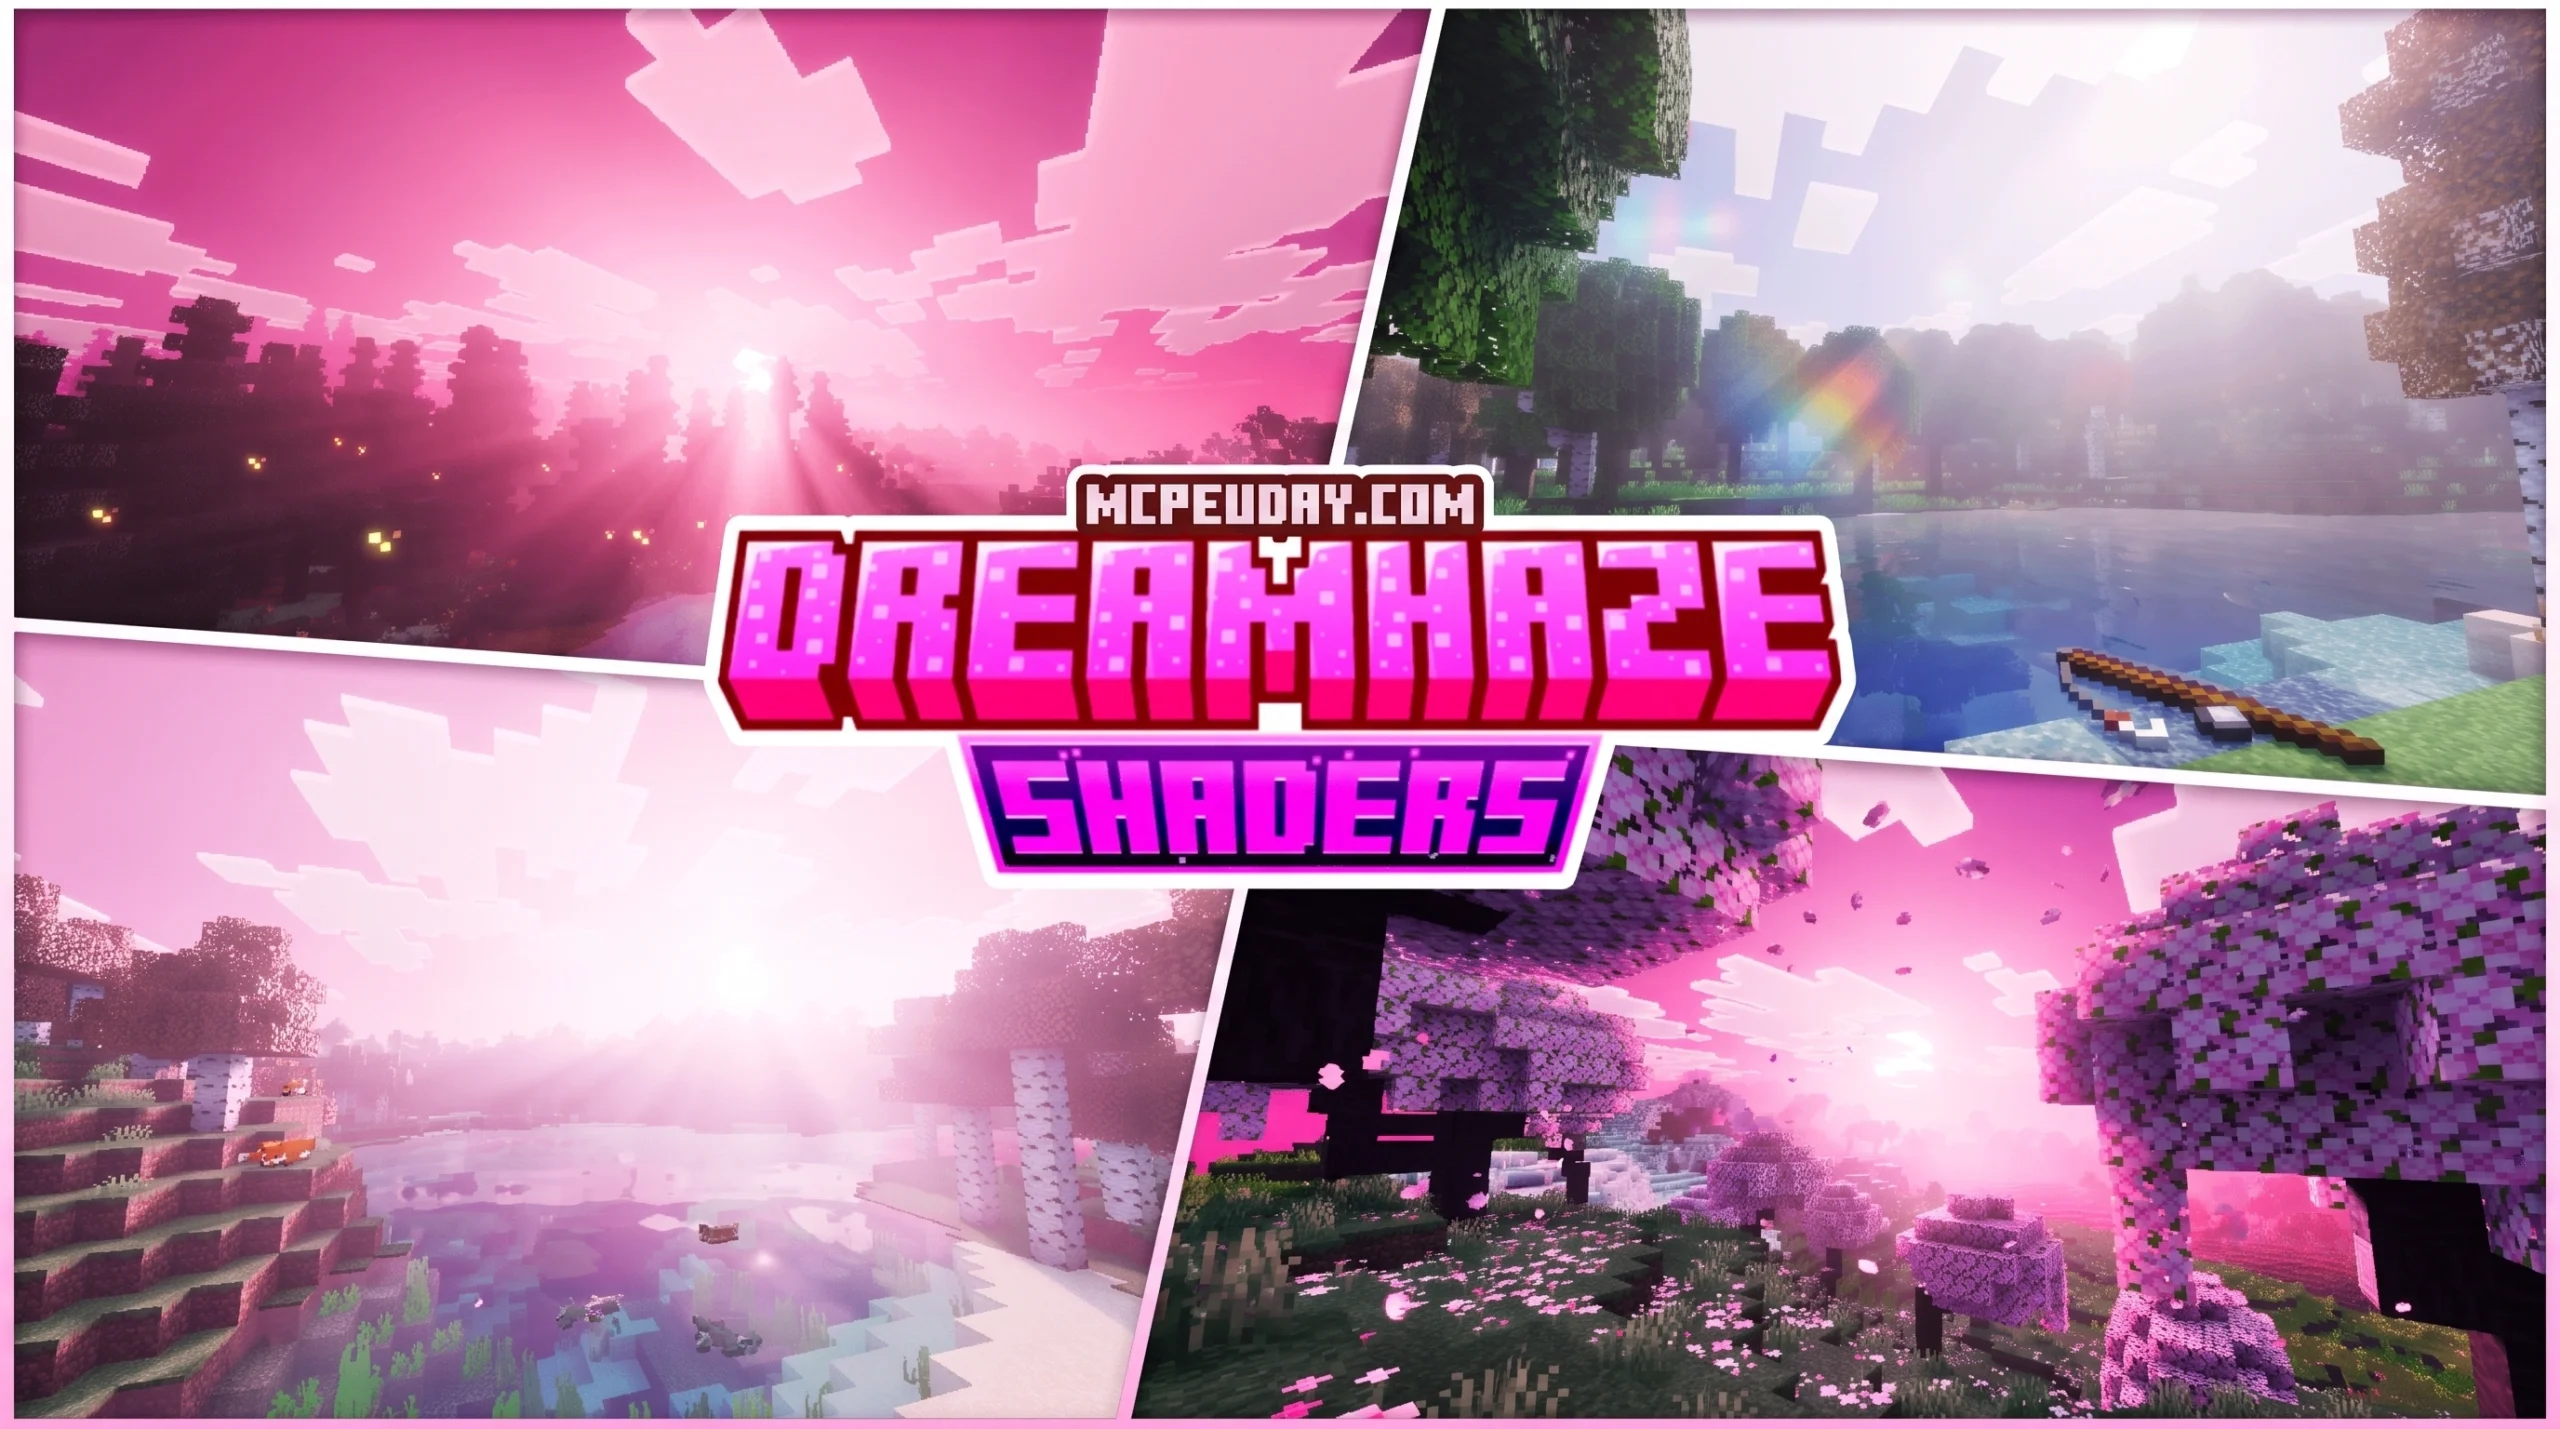
What the DreamHaze Shader Does and Why Minecraft Players Love It
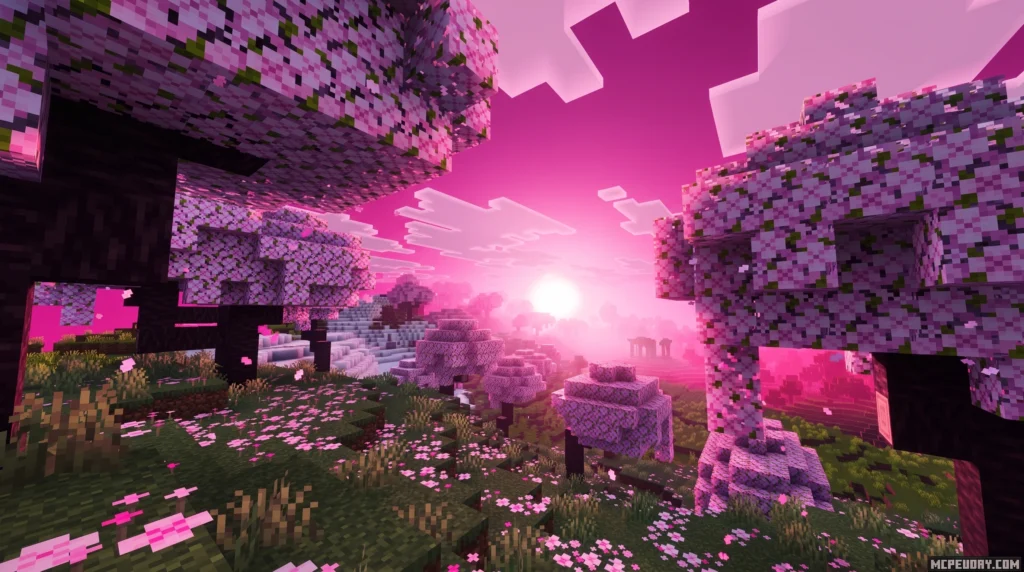
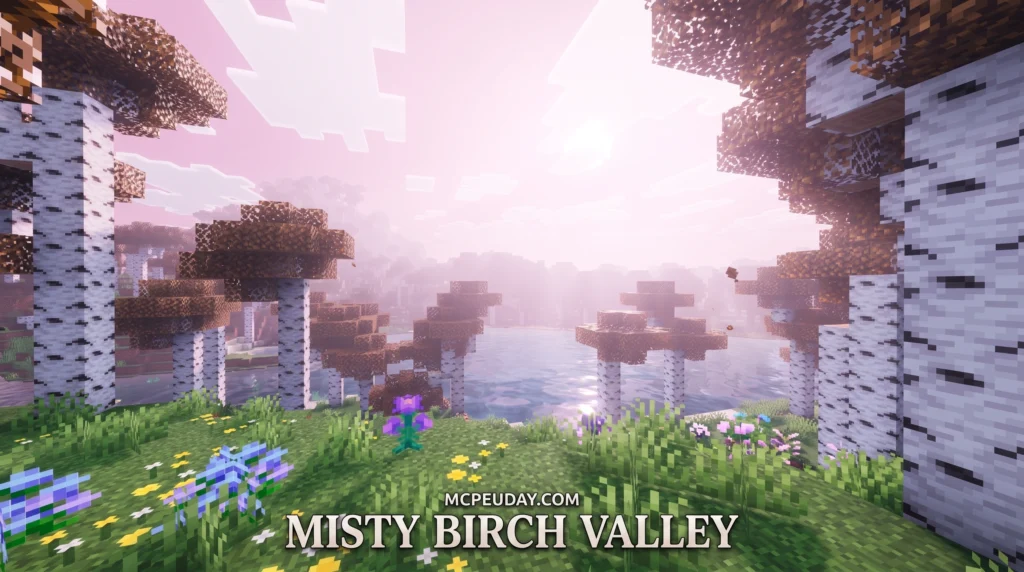
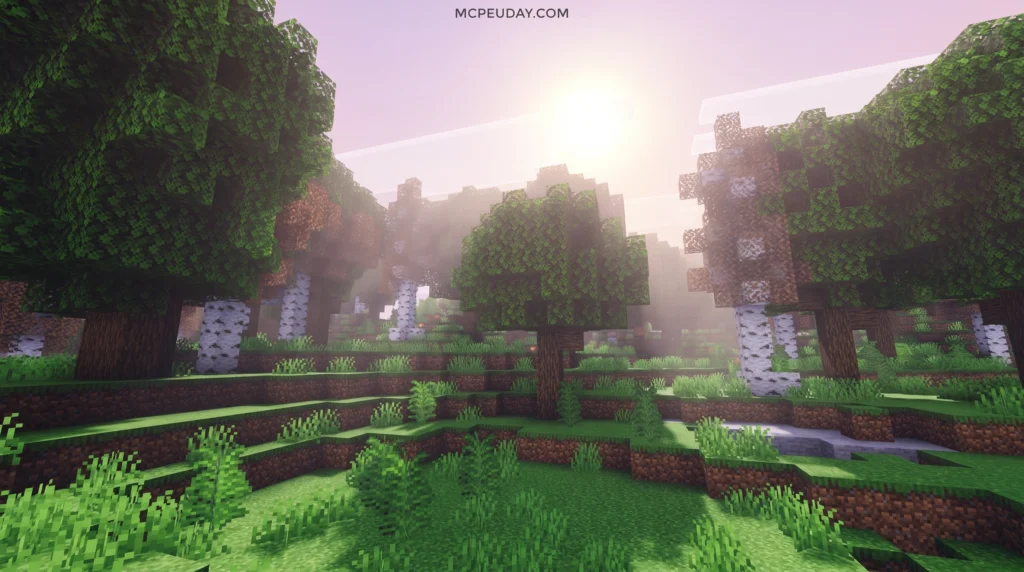
The DreamHaze Shader is a visual effects tool that adds dreamy atmospheric depth to your game — think soft volumetric fog, glowing bloom, heat shimmer, and cinematic haze that makes your world look completely different.
Here’s a quick overview of what it delivers:
- Volumetric fog — layered, depth-aware mist that reacts to light
- Atmospheric haze — soft aerial perspective that makes distant objects fade naturally
- Heat distortion — procedural shimmer effects for deserts, roads, and hot surfaces
- Bloom — glowing light halos around bright sources
- Depth of field — background blur that mimics a real camera lens
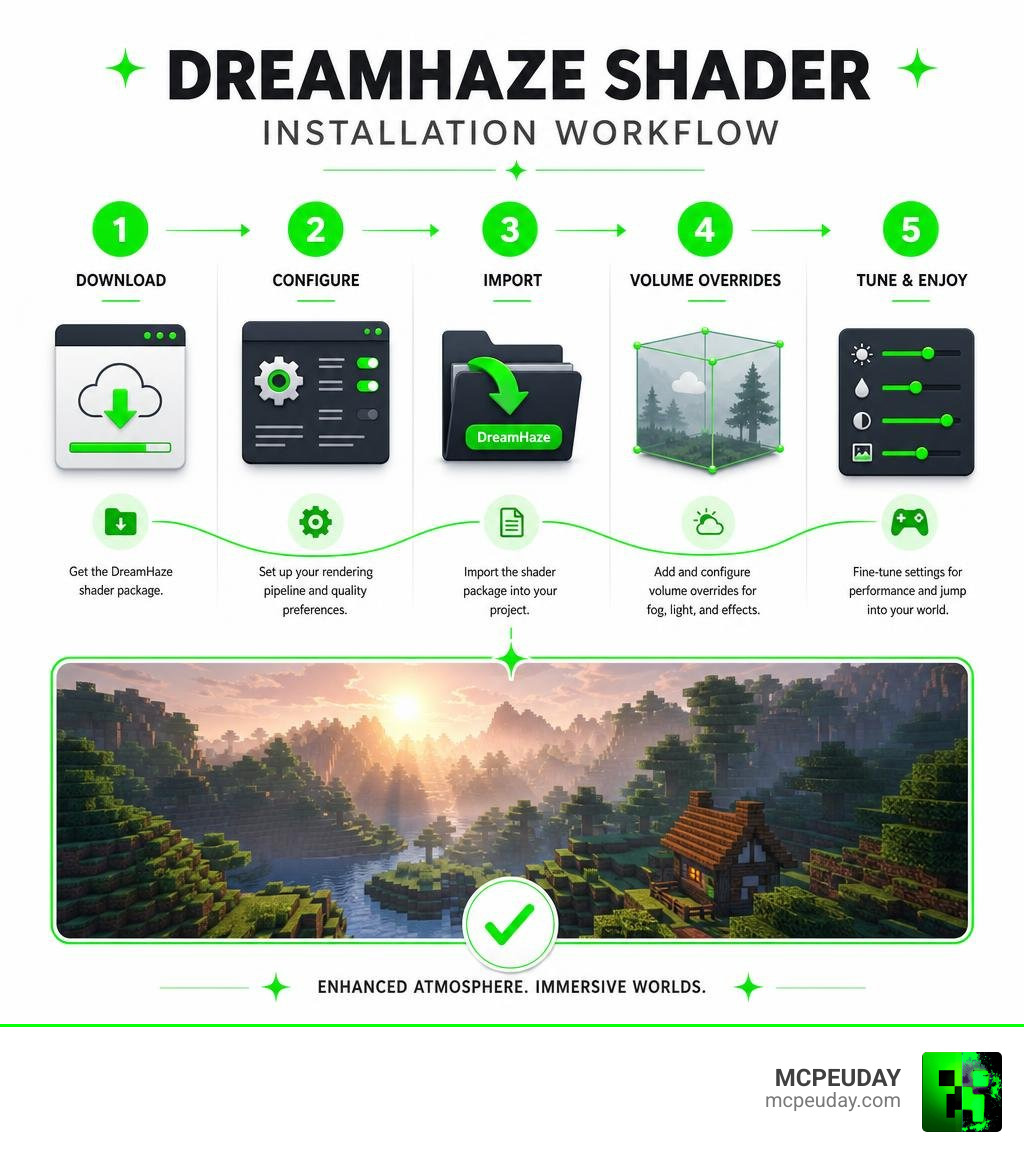
If you just want to know how to get it running fast, the five steps are: find the download package to configure your pipeline to import the shader to set up volume overrides to tune your performance settings. The full walkthrough is below.
Shaders like this used to be hard to set up and even harder to run smoothly. But tools built around modern rendering tech — like compute-shader passes and froxel-based fog — have made it possible to get stunning visuals with very little fps cost, even on mid-range hardware.
Whether you’re building a moody horror world, a sun-baked desert biome, or an anime-style fantasy landscape, DreamHaze gives you the atmospheric tools to pull it off.
What is the DreamHaze Shader and What Does It Do?
The DreamHaze Shader is a cutting-edge post-processing and volumetric rendering solution designed to bring ultra-realistic, cinematic atmosphere to your digital projects. At its core, the shader transforms flat, sterile environments into living, breathing worlds. It achieves this by scattering light realistically through virtual moisture and dust particles, creating a rich volumetric fog.
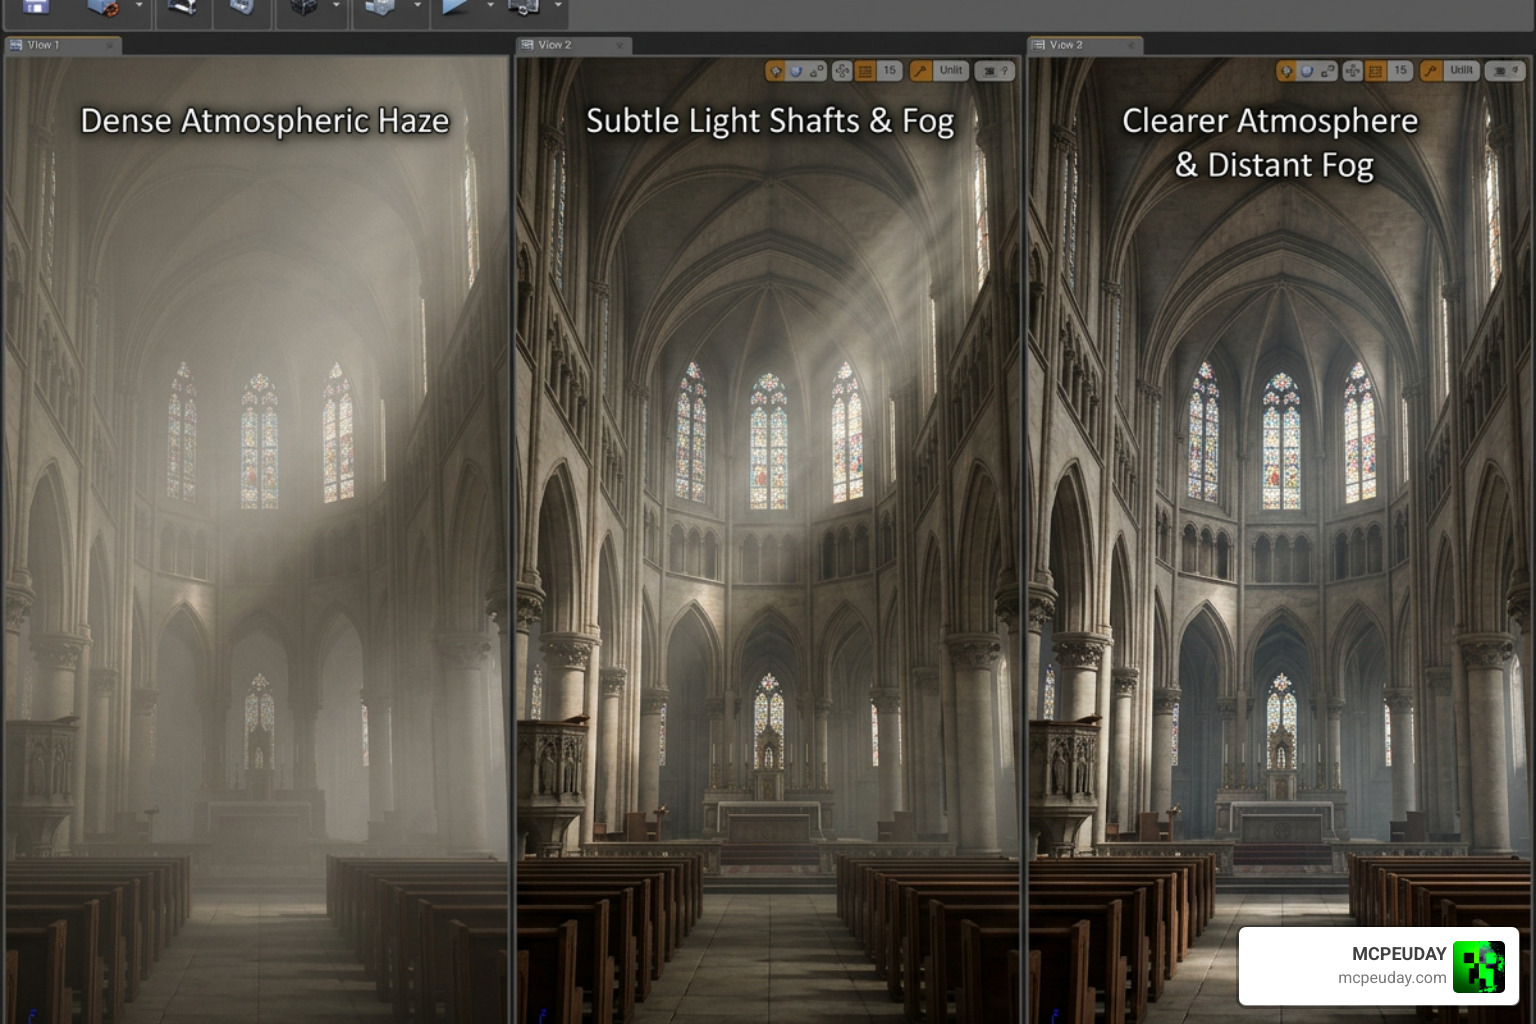
Unlike basic fog systems that simply overlay a colored screen-space blend, DreamHaze computes light interaction dynamically. This means you get gorgeous light shafts (god rays) filtering through tree canopies and soft, glowing halos around torches.
Beyond fog, the system delivers a suite of integrated atmospheric effects:
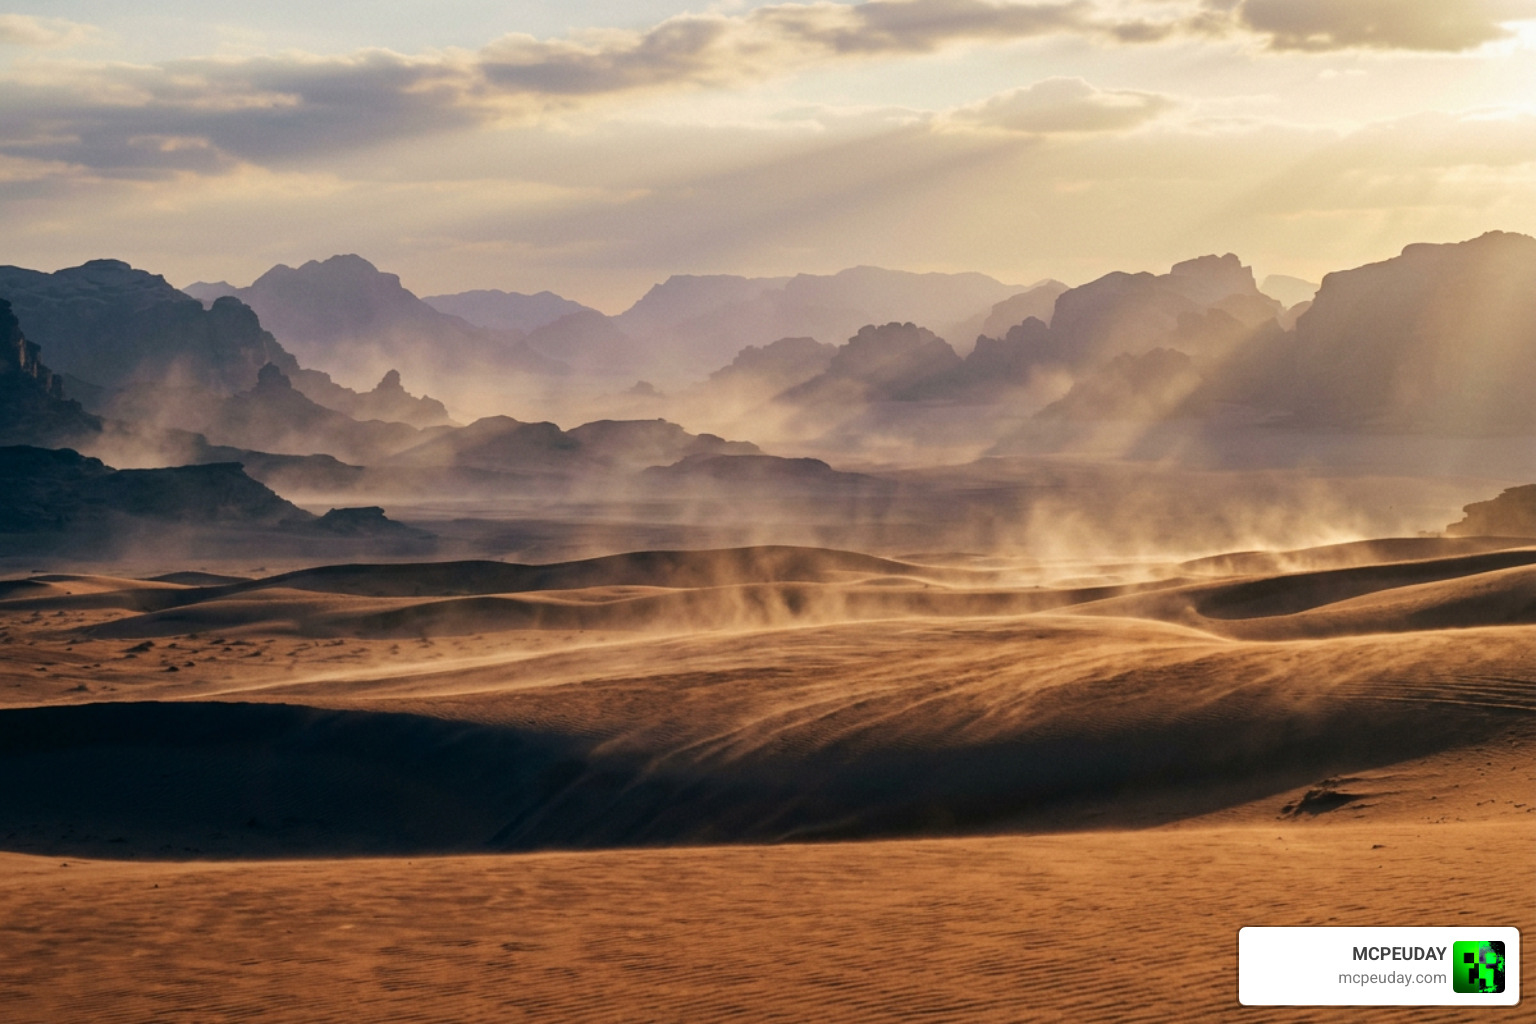
- Procedural Heat Distortion: Mimics the rising hot air over lava lakes or desert sands using advanced noise algorithms.
- Cinematic Bloom: Spreads bright light values naturally across neighboring pixels for a dreamy, high-end look.
- Depth of Field: Blurs foreground or background elements dynamically to keep your focus exactly where it belongs.
If you have experimented with the Dreamy Visuals Shader, you already know how much a stylized atmosphere can change the feel of your game. The open-source foundations of DreamHaze can be tracked on the TypeDreamMoon/DreamShader GitHub repository, which features 90 stars, 16 forks, and over 135 contributions from its lead developer, TypeDreamMoon, showcasing its active community-driven development.
Supported Engines, Pipelines, and System Requirements
DreamHaze is incredibly versatile, supporting multiple rendering pipelines and engines. In modern game development, it integrates seamlessly with Unity 6, utilizing the native RenderGraph API, and supports both the Universal Render Pipeline (URP) and the High Definition Render Pipeline (HDRP). For developers using Unreal Engine (versions 5.3 through 5.7), the shader functions via a custom text-first material authoring workflow.
PC players can also enjoy these effects across a wide variety of games using ReShade. The technology is designed to work on modern graphics APIs including DirectX 11, DirectX 12, and Vulkan. For instance, the highly optimized DreamVision 1.0 Release – NGD Shader Installer – Platinum Early Access | Patreon system squeezes 121 passes into just 15 compute-based passes, resulting in an incredibly small performance cost of under 1 fps on modern GPUs.
For Minecraft players, getting these features running depends on your platform. If you are on Bedrock or MCPE, you will want to read our How to Turn on Shaders in Minecraft 2026 Guide Java Bedrock MCPE Setup Fast Mcpeuday to ensure your device meets the rendering criteria.
Key Artistic and Technical Controls
One of the best things about the DreamHaze Shader is the sheer amount of control it hands to artists and developers. Through local and global volume overrides, you can paint your scene’s mood precisely.
- Per-Light Contribution: Adjust how much individual light sources boost or carve the surrounding fog density.
- Custom Noise Textures: Swap out the 3D noise textures to change the pattern of the haze from smooth, rolling mist to patchy, spooky fog.
- Gradient Colors: Apply multi-color gradients over distance or height to create otherworldly sunsets.
The color palettes available are highly artistic. Many users utilize the Dream Haze 8 Palette (which has over 9,573 downloads) to achieve a smooth color transition from deep blue through purple to soft yellow. This gradient offers a beautiful aesthetic similar to the warm, inviting tones of the Jaipur Dream Paint Color DEFD09 . While the name “DreamHaze” might share its name with botanical classics like the Cali Connection Seeds Blue Dream Haze , the Blue Dream Haze Marijuana Strain Information & Reviews , or a classic Shatter Review: Blue Dream , our focus here is purely on digital pixels and breathtaking rendering technology!
How to Download and Install the Shader in 5 Easy Steps
Setting up your shader package doesn’t have to be intimidating. Whether you are using a game engine or configuring your game client, follow our straightforward guide below. For a broader look at shader installation, check out our guide on How to Get Shaders in Minecraft.
Step 1: Locate the DreamHaze Shader Download Package
First, navigate to the official distribution source. Depending on your project, this might be the Unity Asset Store, the official GitHub releases page, or our curated download section here at MCPEUDAY. Download the archive or package file to a safe folder on your computer.
Step 2: Configure Your Rendering Pipeline for DreamHaze Shader
Before importing, ensure your project’s rendering pipeline is ready. If you are using Unity 6 URP, open your project settings and ensure that the RenderGraph API is active. If you are using Unreal Engine, make sure your MSVC toolchain is updated to support the DreamShaderLang compiler.
Step 3: Import the Shader Package into Your Project
For Unity, go to Assets > Import Package > Custom Package and select the downloaded file. For Unreal Engine, copy the plugin folder directly into your project’s Plugins/ directory. The custom domain-specific language (DSL) files (.dsm, .dsf, .dsh) will compile automatically upon saving, generating native material assets.
Step 4: Set Up Volume Overrides and Presets
Add a global Post-Processing Volume to your scene. Click “Add Override” and select DreamHaze. From here, you can load pre-configured presets using the built-in preset framework or configure hotkeys to toggle between different atmospheric moods on the fly.
Step 5: Adjust Performance and Quality Settings
To keep your gameplay buttery smooth, open the shader’s performance tab. Here you can set the internal rendering resolution (Full, Half, or Quarter resolution downscaling) and enable automatic shader variant stripping to keep your build sizes light and fast.
Performance Optimization and Technical Architecture
The magic behind the DreamHaze Shader lies in its highly optimized technical architecture. Traditional volumetric fog solutions struggle because they raymarch through 3D space for every single pixel on your screen, which kills your frame rate.
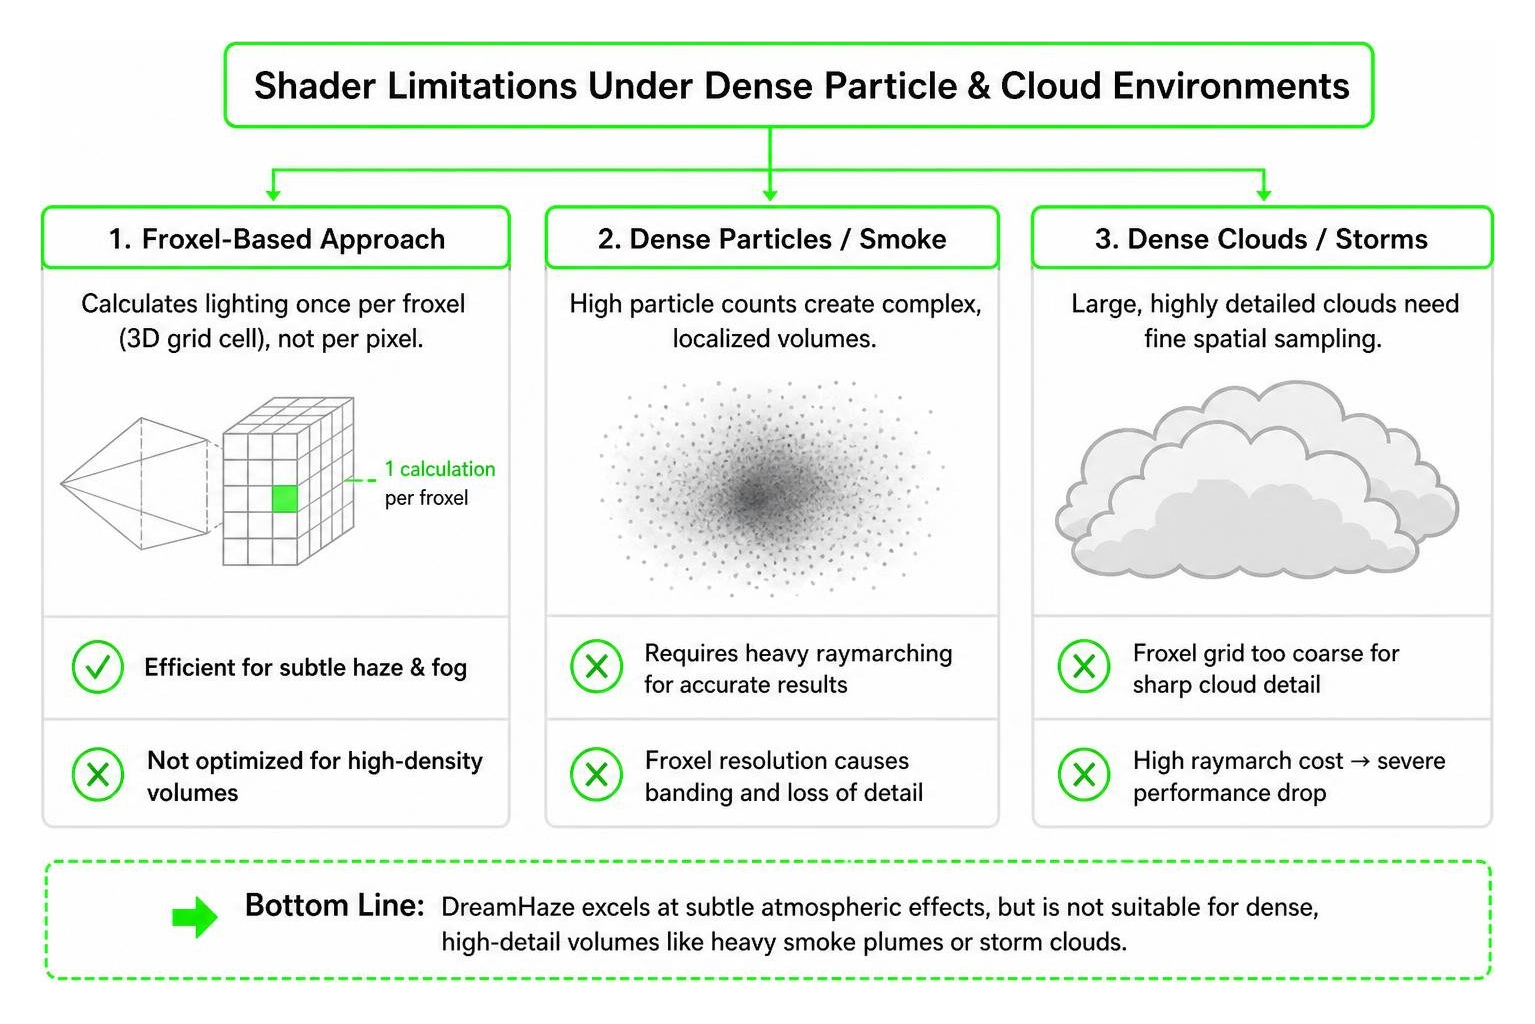
DreamHaze uses a froxel-based approach. It divides the camera’s viewing frustum into a 3D grid of voxels aligned with the screen (froxels). Light scattering and media density are calculated once per froxel rather than per pixel. When combined with compute-shader passes, this dramatically lowers the GPU workload.
Additionally, tools like Super Haze: Heat Distortion & Atmospheric Haze for URP | Fullscreen & Camera Effects | Unity Asset Store leverage custom C# APIs and automatic shader variant stripping during builds, ensuring that unused shader features don’t take up memory or processing power.
| Performance Mode | Resolution Downscaling | Average FPS Impact (Modern GPU) | Memory Footprint | Recommended Use Case |
|---|---|---|---|---|
| Ultra | None (Full Res) | 3 – 5 fps | ~12 MB | High-end cinematic rendering |
| Balanced | Half Resolution | 1 – 2 fps | ~4 MB | Standard gameplay |
| Eco | Quarter Resolution | < 1 fps | ~1.5 MB | Mobile devices & VR |
Comparing DreamHaze to Other Volumetric Solutions
How does DreamHaze hold up against other popular atmospheric tools? Let’s take a look at the competition.
For Unity developers, the HAZE – Volumetric Fog & Lighting for URP | Fullscreen & Camera Effects | Unity Asset Store asset (which has 331 favorites) is an excellent, artist-friendly option, but it is strictly locked to URP on Unity 6. On the retro side, the reshade/shaders/blur-haze-sh1nra358.slang code provides basic screen-space Gaussian blur and bloom for emulation setups but lacks true 3D spatial awareness.
DreamHaze bridges these gaps by offering both a high-end volumetric engine and a lightweight post-processing pipeline. For Minecraft players, this means you get a level of visual polish comparable to the options found in our list of the 15 Best Minecraft PE Shaders June 2026.
Known Limitations and Production Considerations
While DreamHaze is incredibly powerful, there are a few technical limitations to keep in mind during production:
- Punctual Lights Only: In certain mobile or forward rendering pipelines, only punctual lights (point and spot lights) will cast volumetric glow. Secondary lights may require Forward+ or Deferred+ setups to render correctly.
- Shared Noise Textures: To save video memory, all active volume instances share a single global 3D noise texture. This means you cannot have completely different noise patterns in adjacent local volumes.
- Not for Dense Clouds: The froxel-based approach is designed for subtle atmospheric haze and fog. It is not suitable for rendering highly detailed, dense storm clouds or thick, localized smoke plumes, as these require heavy raymarching that would ruin performance.
Frequently Asked Questions about DreamHaze
Is this shader compatible with mobile devices?
Yes! When configured to run in “Eco” mode with quarter-resolution downscaling, the shader runs beautifully on modern mobile devices. However, older mobile chipsets might struggle with the volumetric calculations. For mobile-optimized alternatives, check out the Dreamy Vibrant Visuals Shader.
How does DreamHaze handle secondary light sources?
In standard forward rendering, secondary lights might not contribute to the volumetric fog to save performance. To enable full multi-light interaction where every light source casts gorgeous mist-glow, ensure your project is configured to use the Forward+ or Deferred+ rendering path.
Can I use DreamHaze for dense cloud rendering?
No, we do not recommend using DreamHaze for dense, localized clouds or heavy smoke. Because it uses a performance-friendly froxel grid, it lacks the high-frequency shape detail needed for dense clouds. Doing so would require a massive performance hit.
Conclusion
The DreamHaze Shader is an absolute game-changer for anyone looking to bring rich, cinematic atmospheres to their projects without sacrificing frame rates. From its highly optimized compute-shader passes to its artist-friendly volume controls, it provides everything you need to create stunning visual depth.
If you want to explore more incredible graphics options for your game, head over to our handpicked selection of the Best Shaders for MCPE 1.21 2026 Top 3 Realistic Minecraft PE Shaders and start transforming your gaming world today! Just like sinking into a comfortable Dreamzee 100% Certified Organic Natural Latex Mattress India , playing with these gorgeous visuals is an absolute dream.