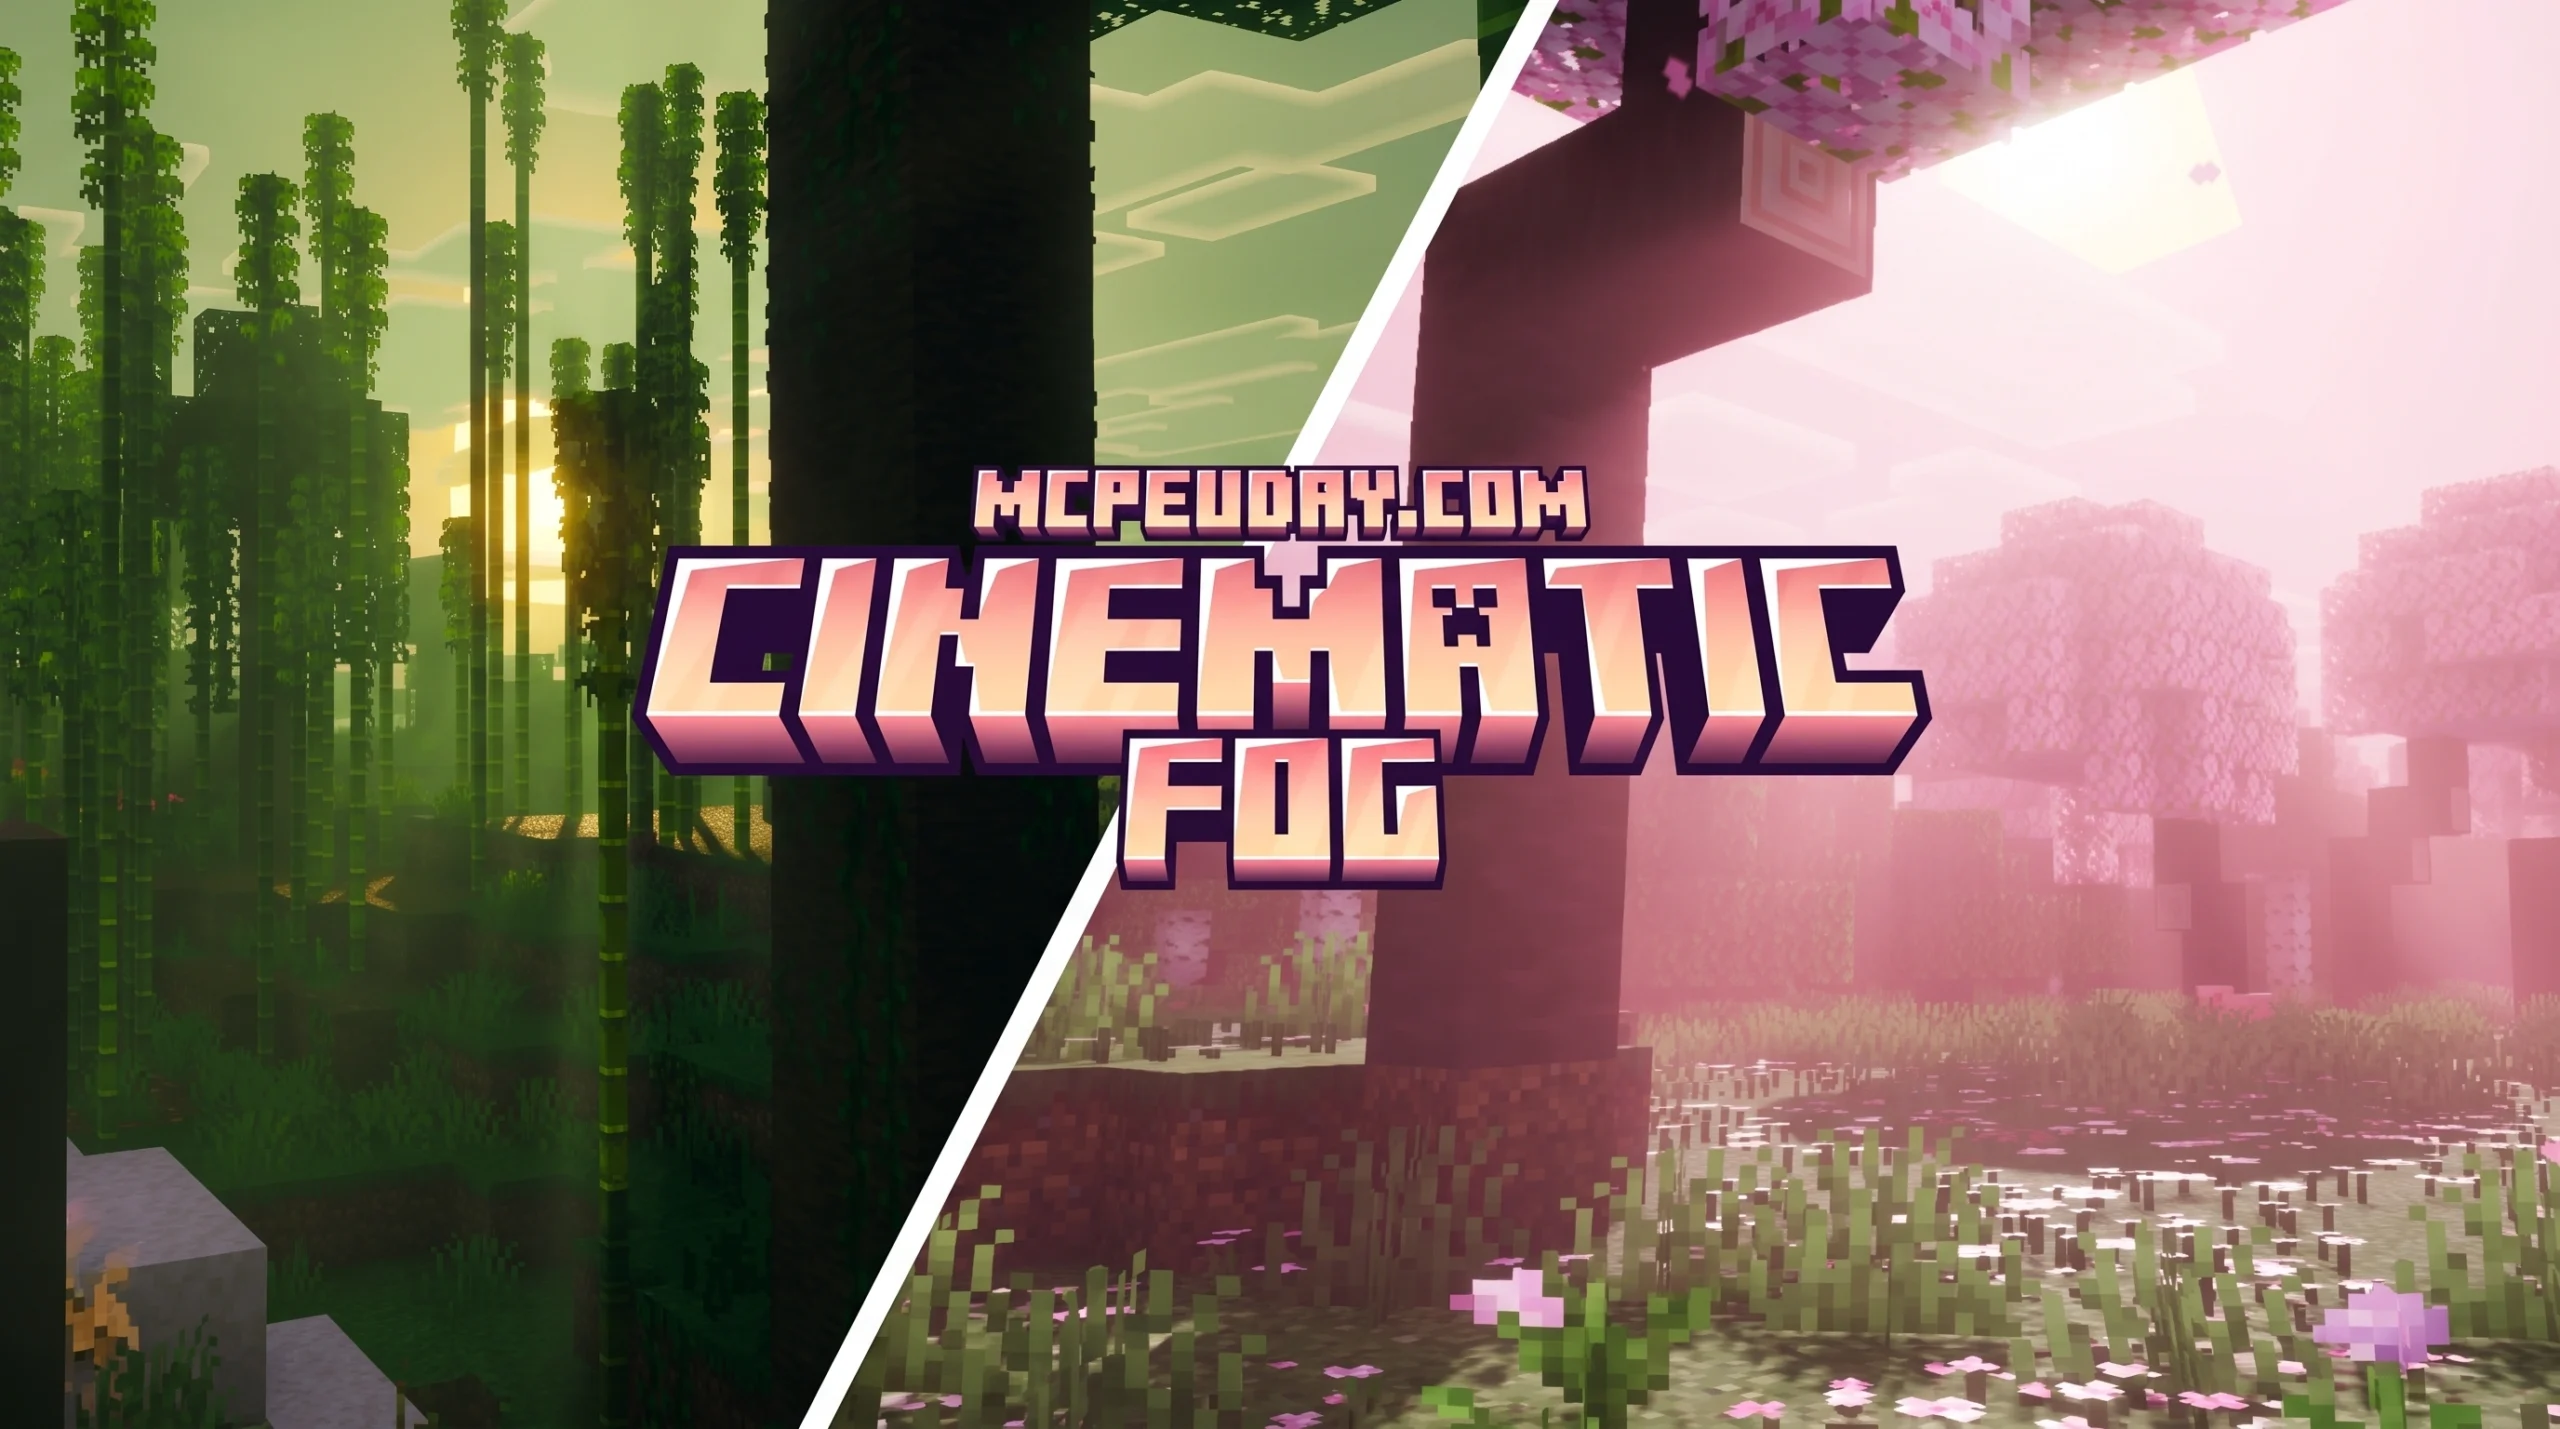
Why a Cinematic Fog Shader Can Transform Your Game’s Look
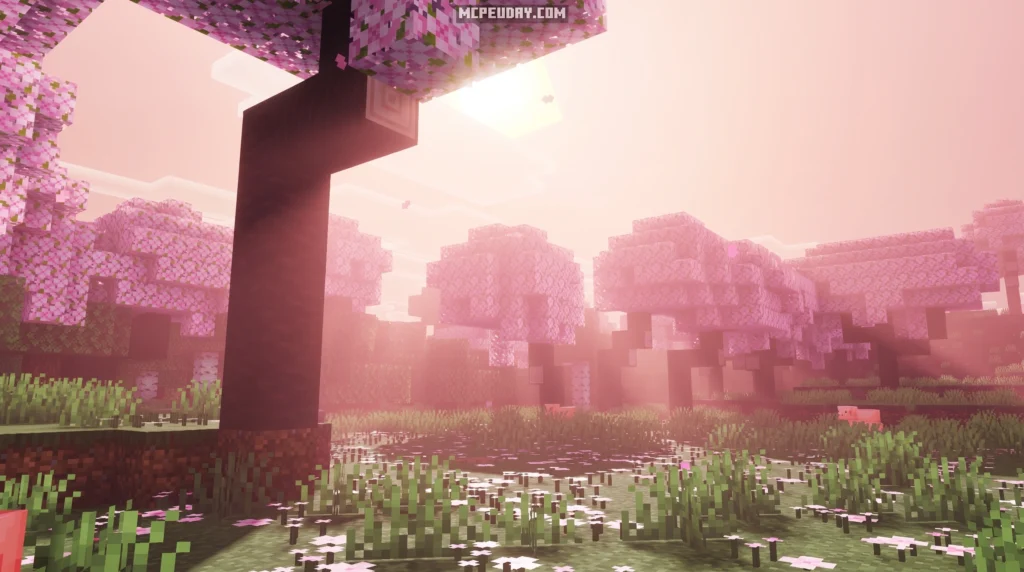
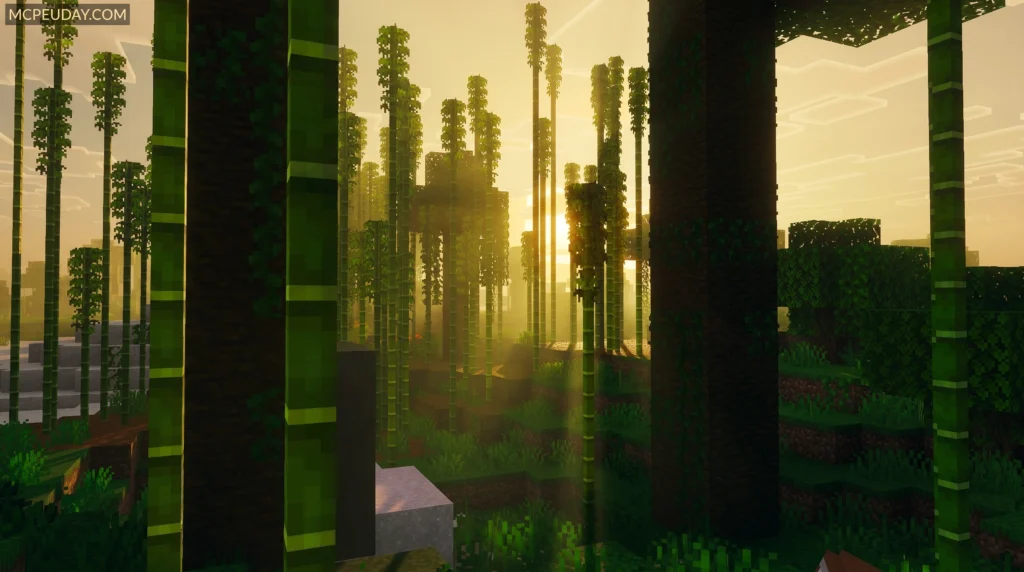
A cinematic fog shader is one of the most powerful tools you can add to any game or 3D scene — whether you’re building in Unity, Unreal, or playing Minecraft with mods.
Here’s a quick answer if you’re in a hurry:
- A cinematic fog shader adds realistic, atmospheric fog to a 3D scene using techniques like volumetric fog, height fog, or raymarching
- It differs from basic fog by responding to lighting, casting god rays, and wrapping around geometry
- You can control it with parameters like fog density, fog start distance, cloud scale, and movement speed
- Popular options include ReShade’s Height Fog shader, Unity’s Volumetric Fog & Mist 2, AERO, and URP Fog Volumes
- Minecraft players can get similar effects through Bedrock/MCPE shader packs that support Render Dragon
Fog is both a technical and artistic challenge. Get it right and your scene feels alive — mysterious, deep, and cinematic. Get it wrong and the whole visual falls apart.
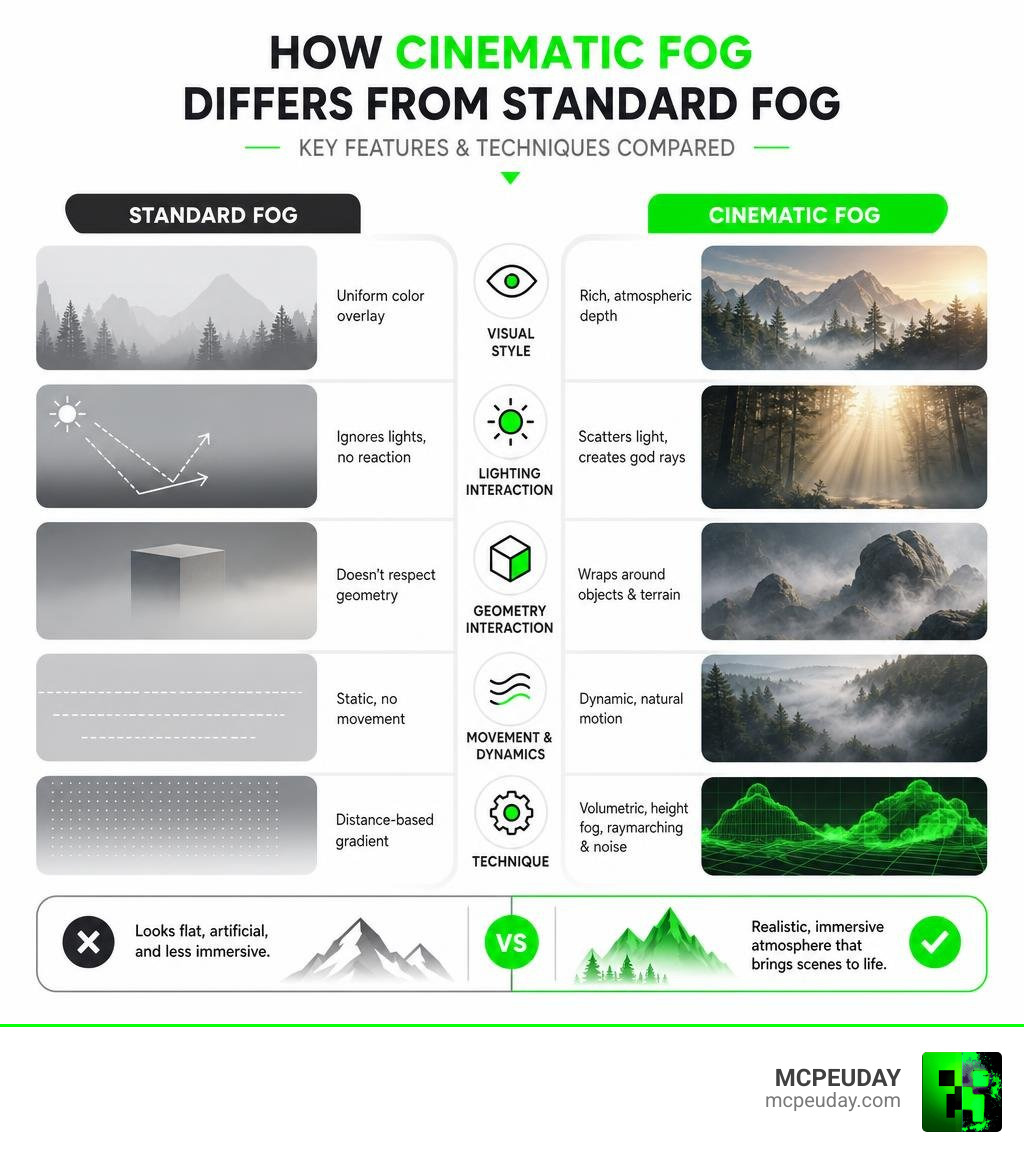
The difference between standard fog and a true cinematic fog shader comes down to how the effect interacts with the world around it. Basic fog is a flat color overlay. Cinematic fog responds to light sources, respects scene geometry, and can even move and breathe like real mist.
Whether you’re a Minecraft player hunting for the perfect shader pack or a developer building a moody horror level, understanding how cinematic fog works will help you find and configure exactly what you need.
Understanding the Cinematic Fog Shader and How It Works
To understand why a Cinematic Fog Shader looks so much better than standard fog, we have to look under the hood. In early games, “fog” was simply a cheap trick to hide the edge of the world where chunks failed to load. The engine would calculate the distance from the camera and blend the geometry’s color into a solid background color. It looked flat, ignored light sources, and felt incredibly artificial.
Modern real-time rendering changes the game entirely. A cinematic fog shader leverages the depth buffer to calculate exactly where objects exist in 3D space. By analyzing the distance between the camera and scene geometry, the shader can dynamically inject mist into the spaces between.
For those curious about the underlying technology, reading up on What are Shaders in Games is a great place to start. In short, these specialized programs run directly on your GPU to calculate pixel colors, lighting, and post-processing effects in real time.
When we step up to volumetric fog, the shader doesn’t just look at a flat plane; it calculates light scattering through a three-dimensional volume. As light passes through this virtual air, it bounces off simulated water droplets or dust particles. This is why cinematic fog can create realistic depth, making distant mountains look appropriately hazy while keeping your immediate surroundings sharp and clear.
Technical Approaches to Implementing Cinematic Fog
If you are a developer or a technical artist, you have several methods at your disposal to create atmospheric depth. Each approach has its own balance of performance and visual quality:
- Exponential Height Fog: This is the foundational layer of most modern outdoor scenes. It creates a global fog layer that naturally becomes denser at lower altitudes. It is highly performant and perfect for establishing a baseline mood.
- Fog Cards: These are flat 2D planes with transparent, noisy textures applied to them. By placing them strategically around low-hanging areas like lakes or valleys, you can fake localized mist. They are incredibly cheap on performance but can look flat if the camera gets too close.
- Fog Volumes: These are localized 3D zones (often shaped as boxes, spheres, or cylinders) that use raymarching to render fog only within a specific area. They allow you to create dense pockets of swamp mist or indoor steam that players can walk through.
- VDBs (Voxel Databases): These store highly complex volumetric data (like realistic clouds, smoke, or static mist) in a grid of 3D pixels called voxels. While they offer unmatched cinematic realism, they are extremely heavy on GPU performance.
For Unity developers, the open-source sinnwrig/URP-Fog-Volumes repository is an excellent way to implement single-bounce raymarched fog volumes in the Universal Render Pipeline (URP). It supports custom shapes, dynamic lighting, and temporal rendering to keep frame rates smooth.
To help you choose the right approach for your project, here is a quick comparison:
| Fog Technique | Visual Realism | Performance Cost | Best Used For |
|---|---|---|---|
| Exponential Height Fog | Medium | Very Low | Global outdoor atmospheres, distance blending |
| Fog Cards | Low to Medium | Low | Localized low-hanging mist, background silhouettes |
| Fog Volumes | High | Medium to High | Localized swamp mist, indoor steam, streetlamp glow |
| VDBs (Voxel Data) | Extremely High | Very High | Cinematic cutscenes, complex smoke, high-end PC builds |
Step-by-Step Guide: Aligning and Tweaking Your Fog Shader
If you are using a post-processing tool like ReShade or adjusting a custom shader in a game engine, you will quickly realize that default settings rarely look perfect. For example, the famous Height Fog shader by Marty McFly and Otis_Inf (available in the OtisFX repository) is camera-relative, meaning it moves with your camera. If you don’t align it properly, the illusion breaks instantly.
To get the most out of your setup, you can learn more about configuring an Enhanced Fog Shader to achieve professional-grade results. Let’s break down how to align and tweak these settings step-by-step.
Aligning the Cinematic Fog Shader with Your Camera
When you first enable a height-based Cinematic Fog Shader, it might look like a floating sheet of gray plastic rather than natural ground mist. This is because the virtual fog plane needs to be aligned with your scene’s floor relative to the camera.
- Adjust the Fog Plane Z: This parameter controls the vertical position of the fog plane. By default, it sits at a value of -0.001. Make this value more negative to push the fog layer down until it rests perfectly on the floor of your scene.
- Adjust Orientation (Roll and Pitch): If your camera is tilted or angled, the fog plane will tilt with it. Use the roll and pitch settings to manually rotate the fog layer until it lies perfectly flat against the ground geometry.
- Tweak the Field of View (FoV): If you are using a wide-angle camera view, the edges of the fog plane might look warped. Adjust the shader’s FoV parameter (which defaults to 60) to match your game’s actual camera FoV for a seamless blend.
Tweaking the Cinematic Fog Shader for Artistic Control
Once your fog is resting naturally on the ground, you can begin tweaking the artistic parameters to design your atmosphere:
- Fog Density & Fog Curve: These two parameters control the thickness of your mist. While the curve determines how quickly the fog transitions from transparent to opaque, the density slider gives you fine-grained control over the overall thickness.
- Fog Start: This defines the distance from the camera where the fog begins. If you want a clear view of your character but a moody, misty background, increase the Fog Start value so the air immediately around the camera remains clear.
- Cloud Scale (Horizontal & Vertical): If you want a dynamic, cloudy texture instead of a flat sheet, adjust the cloud scale. Setting the horizontal scale to 3 and vertical to 0 creates beautiful, layered sheets of low-hanging fog. Setting the vertical scale to 1 with horizontal at 0 creates wavy, vertical steam patterns.
- Cloud Movement & Speed: Enable the “Moving fog” option and adjust the movement speed to give your mist a gentle, drifting animation. This simple touch adds immense life to static scenes.
Simulating God Rays, Light Shafts, and Scene Lighting
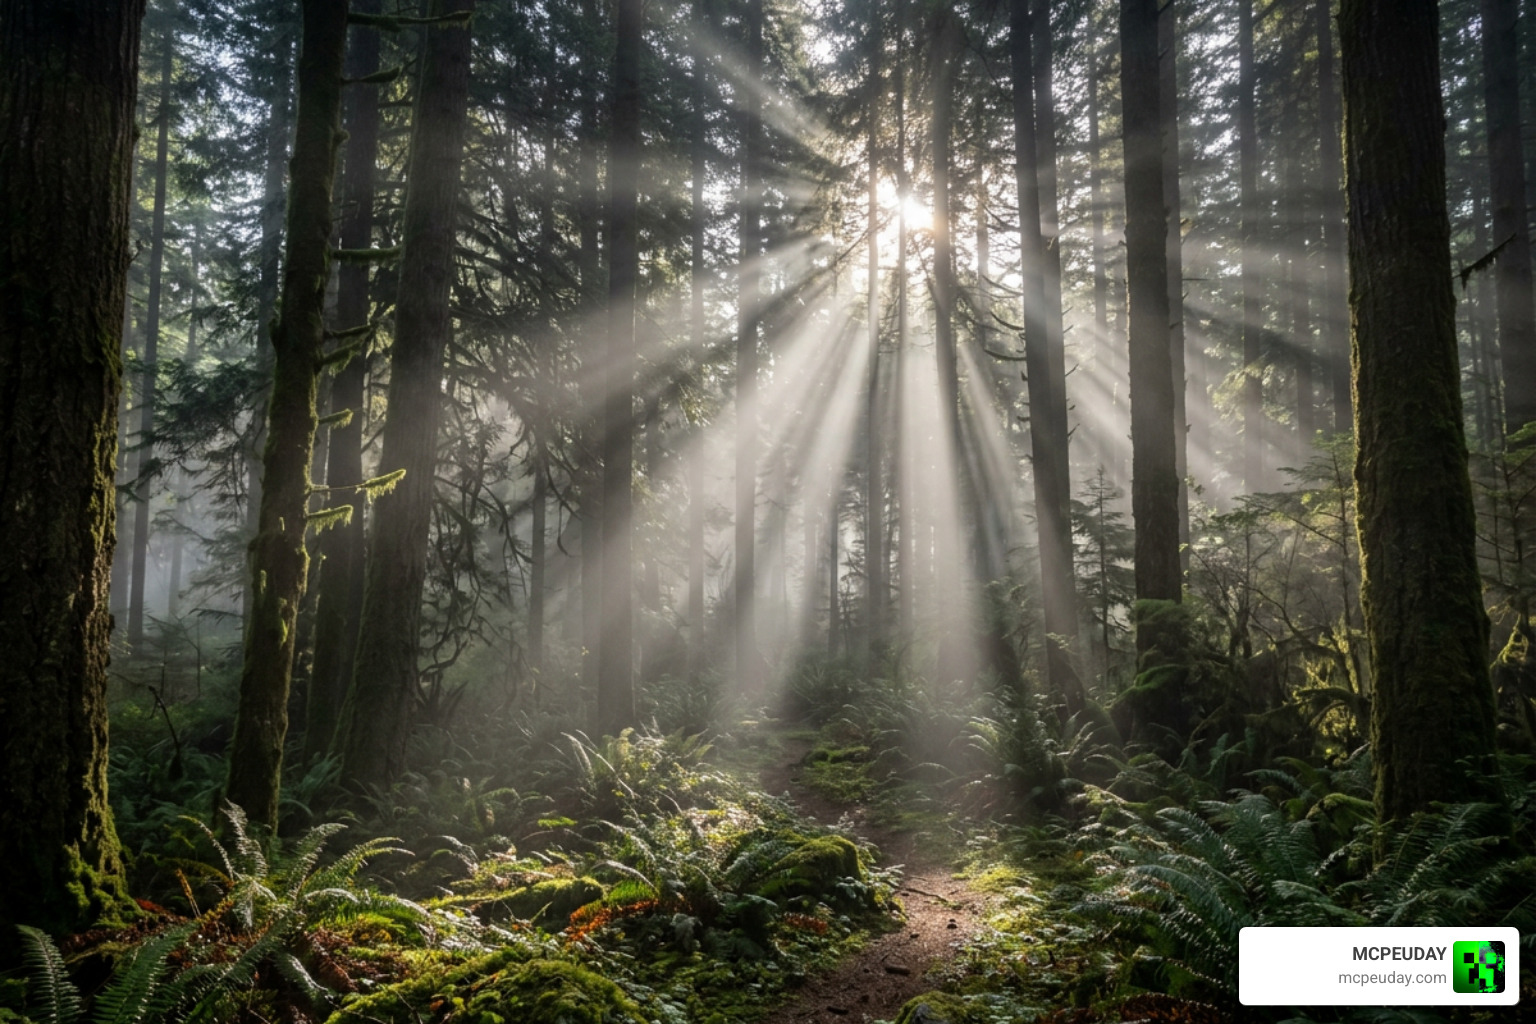
The true magic of a Cinematic Fog Shader happens when it interacts with light. Volumetric scattering allows light beams to become visible as they pass through the moist air, creating beautiful god rays (or light shafts).
When a directional light (like the sun) shines through gaps in tree branches or ruined castle windows, the fog shader calculates which areas are in shadow and which are illuminated. The illuminated paths light up the mist, creating dramatic, glowing volumetric beams.
To achieve this in Unity, many developers turn to Volumetric Fog & Mist 2 | Fullscreen & Camera Effects | Unity Asset Store. This AAA-grade asset supports up to 16+ point lights and spot lights, allowing your campfires, torches, and streetlights to realistically illuminate the surrounding fog.
To make your light shafts look even more cinematic, try these artistic tricks:
- Adjust the scattering intensity on your main directional light to make the god rays more pronounced.
- Add a subtle panning distortion mask to your fog material to simulate moving dust particles drifting through the light beams.
- Set up a custom color tint for your fog so that it picks up the warm glow of sunsets or the cool, blue tones of a moonlit night.
Performance Optimization and Render Pipeline Compatibility
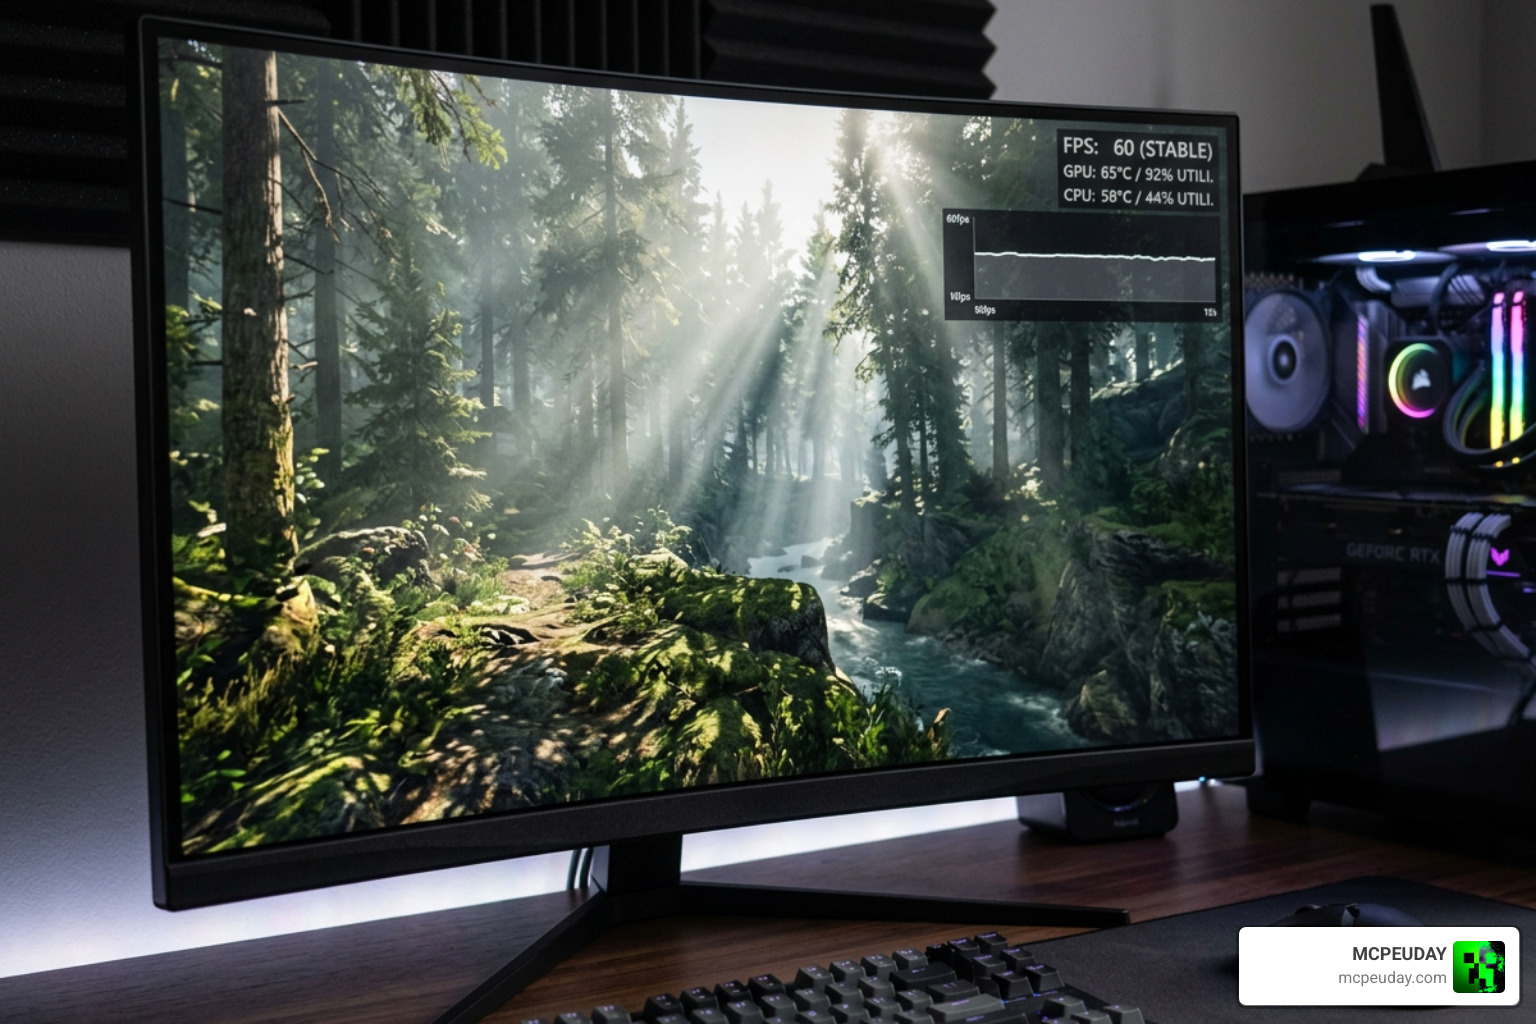
Because raymarched volumetric fog requires the GPU to calculate hundreds of samples along every single camera ray, it can easily tank your frame rate if left unoptimized.
To keep your game running smoothly, we recommend utilizing several industry-standard optimization techniques:
- Downscaling & Bilateral Filtering: Instead of rendering the heavy volumetric fog at your full screen resolution (like 4K or 1080p), render the fog at half or quarter resolution. Then, use a depth-aware bilateral upsampling filter to blend the low-resolution fog back over your high-resolution geometry without creating jagged edges.
- Temporal Reprojection: This technique averages the fog calculations over multiple frames. Instead of calculating everything from scratch every single frame, the shader reuses data from the previous frame, dramatically reducing the GPU workload.
- Adaptive Probe Volumes (APV): In modern engines like Unity 6, you can inject global illumination directly into your fog volumes using APVs, allowing your mist to receive realistic bounced lighting from the environment without expensive real-time calculations.
Your choice of render pipeline also dictates what features you can use. For instance, the lightweight AERO – Volumetric Fog and Mist | Fullscreen & Camera Effects | Unity Asset Store is a beautifully optimized, raymarched renderer feature built specifically for Unity’s Universal Render Pipeline (URP), offering over 60 customizable material properties for fine artistic control.
If you are a gamer looking to maximize your performance while running high-end graphics, checking out the optimal settings in our Photon Minecraft Shader How to Install 2026 Guide Best FPS Settings will help you find the perfect balance between beautiful atmospheric fog and high frame rates.
Finding and Installing Shaders for Minecraft and Gaming
For Minecraft players on Java, Bedrock, or MCPE, cinematic fog is the secret ingredient that turns blocky landscapes into breathtaking, photorealistic worlds.
If you want to experience these visual upgrades firsthand, we have put together a simple walkthrough on How to Get Shaders in Minecraft to help you get started on your platform of choice.
For mobile and console players on Bedrock Edition, the game uses the Render Dragon rendering engine. While Bedrock historically had limited shader support, modern creators have built incredible packs that bring volumetric-style fog and lighting rays to portable devices. You can explore our handpicked list of the Best Render Dragon Shaders for MCPE 1.21 Tested on Real Devices 2026 Guide to find options that look stunning without overheating your phone.
Frequently Asked Questions about Cinematic Fog
How do you align height fog with the floor in a 3D scene?
To align height fog with your floor, start by adjusting the Fog Plane Z parameter to a more negative value to lower the fog layer. Next, use the roll and pitch orientation settings to rotate the fog plane until it matches the angle of your scene’s floor. If you are using a wide camera angle, adjust the shader’s FoV parameter to eliminate warping at the edges of the screen.
What parameters control fog thickness and density?
Fog thickness is primarily controlled by three settings:
- Fog Density: Provides fine-grained control over how thick the mist appears overall.
- Fog Start: Determines how far away from the camera the fog begins rendering.
- Fog Curve: Controls the rate at which the fog transitions from transparent to fully opaque over a distance.
How can you make the fog move or appear cloudy?
To add texture and motion to your fog, enable the “Moving fog” or “Wind” setting in your shader options. You can then adjust the horizontal and vertical Cloud Scale parameters to create wavy, layered textures. Finally, increase the Cloud Movement Speed to make the mist gently drift across your environment.
Conclusion
Finding and configuring the perfect Cinematic Fog Shader is the ultimate shortcut to elevating your visuals from flat and boring to deeply atmospheric and cinematic. Whether you are adjusting height fog planes in ReShade, programming custom volumetric raymarching features in Unity, or exploring spooky forests in Minecraft Bedrock, getting your fog settings right is crucial for immersive visual storytelling.
At MCPEUDAY, we are dedicated to bringing you the absolute best resources, guides, and downloads for mobile and PC gaming. If you are ready to completely transform your game’s graphics, head over to our curated guide on the Best Shaders for MCPE 1.21 2026 Top 3 Realistic Minecraft PE Shaders and start your journey into stunning, realistic atmospheric rendering today!