What Is a Luminance Shader? (Quick Answer)
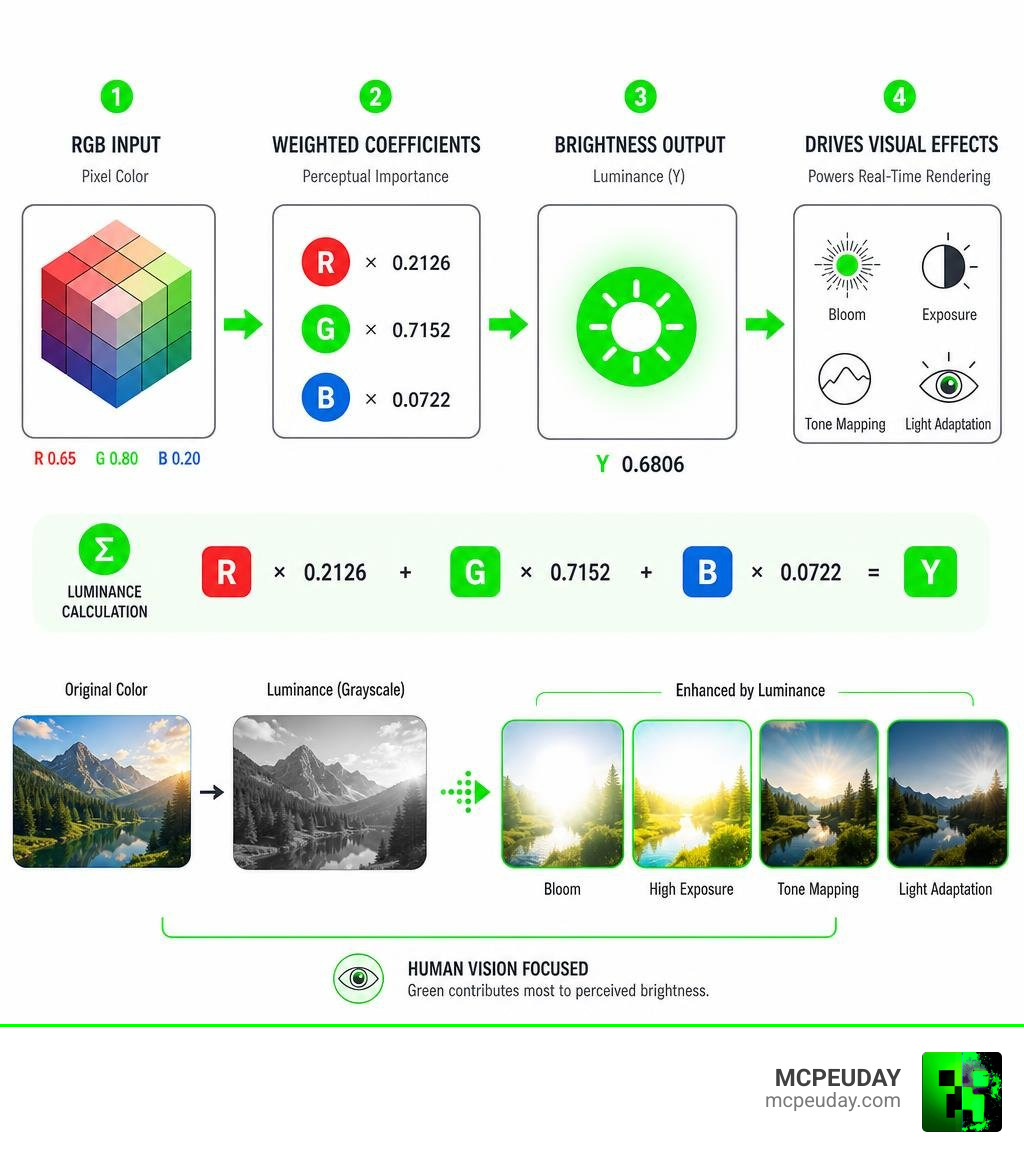
A luminance shader is a small piece of GPU code that calculates how bright a pixel or color is — turning an RGB color into a single brightness value. It powers effects like bloom, tone mapping, and HDR rendering in games and real-time graphics.
Quick breakdown of what a luminance shader does:
- Takes a color (red, green, blue values) as input
- Multiplies each channel by a weighted coefficient (based on how the human eye perceives brightness)
- Returns a single number representing perceived brightness
- That number drives visual effects like glow, exposure, and light adaptation
Whether you’re a game developer writing GLSL for a custom pipeline, a Rust programmer using a type-safe graphics crate, or a Minecraft player installing a shader pack to make your world look stunning — luminance shaders are working behind the scenes on every lit pixel.
The math is surprisingly simple. The most common formula, based on the Rec. 709 standard used in HD video, looks like this:
Luminance = (Red × 0.2126) + (Green × 0.7152) + (Blue × 0.0722)
Green carries the most weight because human eyes are most sensitive to it. Blue carries the least.
This single calculation shows up everywhere — from AAA game engines to tiny shader utility libraries to post-processing bloom passes in Three.js.
What is a Luminance Shader and How Does It Work?
To understand how a Luminance Shader works, we have to look at how humans perceive light. Our eyes do not treat all colors equally. We are incredibly sensitive to green light, moderately sensitive to red, and relatively blind to blue.
If we simply averaged the red, green, and blue values of a pixel (adding them together and dividing by three), the resulting grayscale image would look completely unnatural. Bright yellow-greens would appear too dark, and deep blues would appear too bright.
To solve this, color scientists established standards like Rec. 709 for high-definition displays. This standard defines precise coefficients for linear RGB colors: 0.2126 for red, 0.7152 for green, and 0.0722 for blue. By multiplying each color channel by its corresponding coefficient and summing the results, we get a value that matches physical human perception.
In modern graphics programming, we execute this math on the GPU using a dot product. A dot product multiplies matching components of two vectors and sums them up, which is incredibly fast on graphics hardware. For advanced rendering techniques like dynamic exposure, developers often use compute shaders to calculate average scene brightness over several frames, as detailed in the guide on Average luminance calculation using a compute shader.
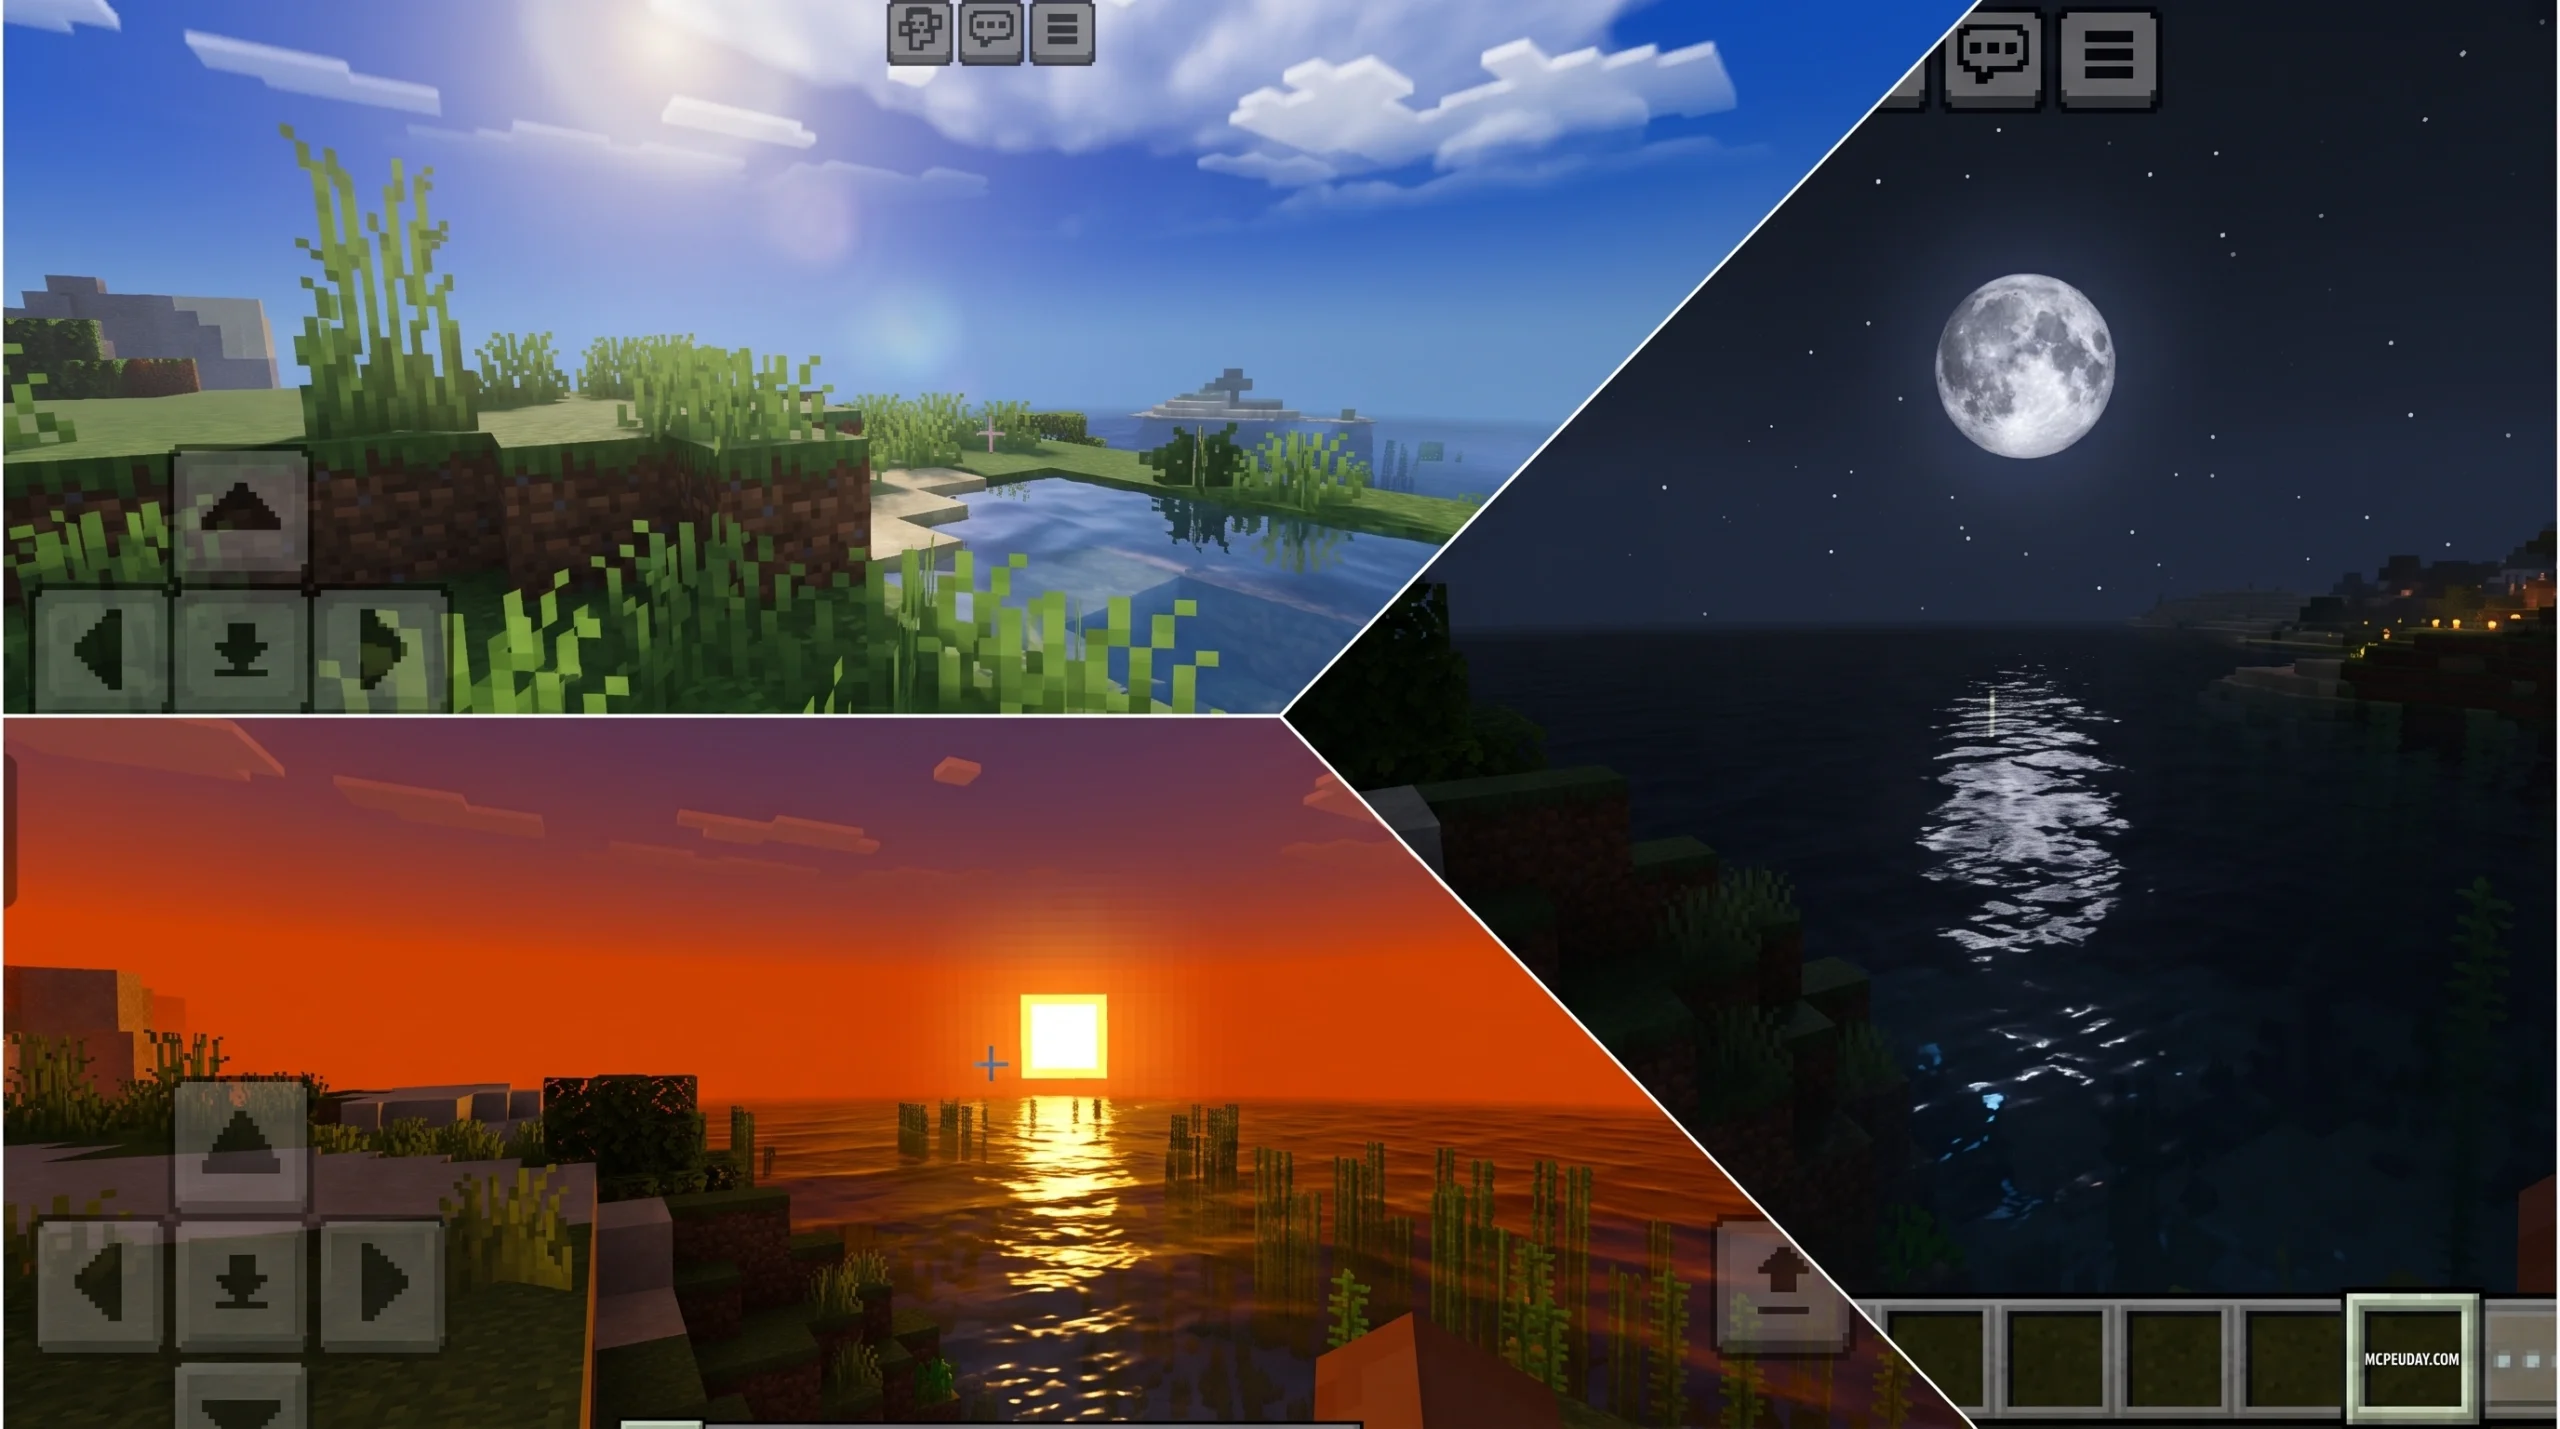
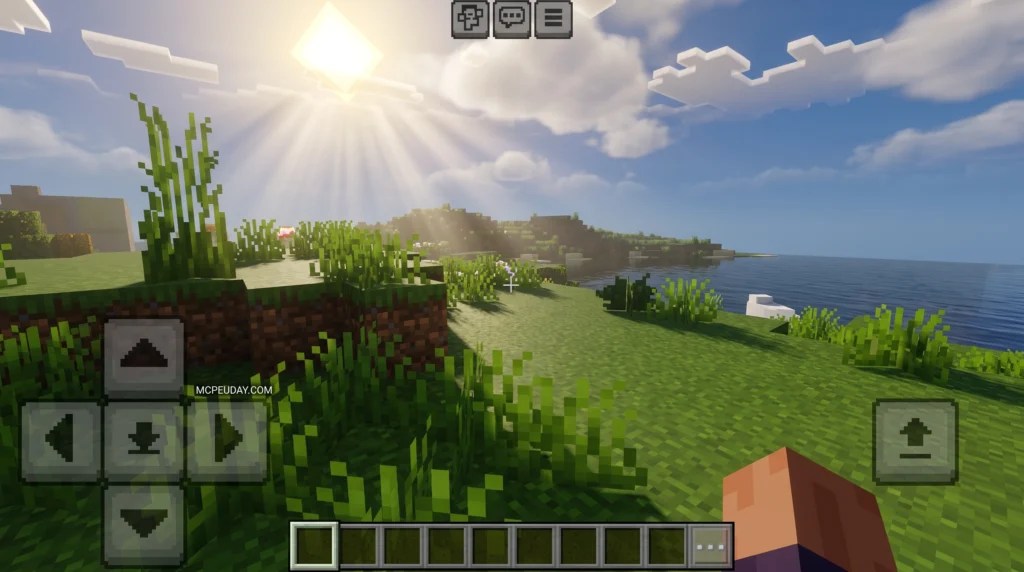
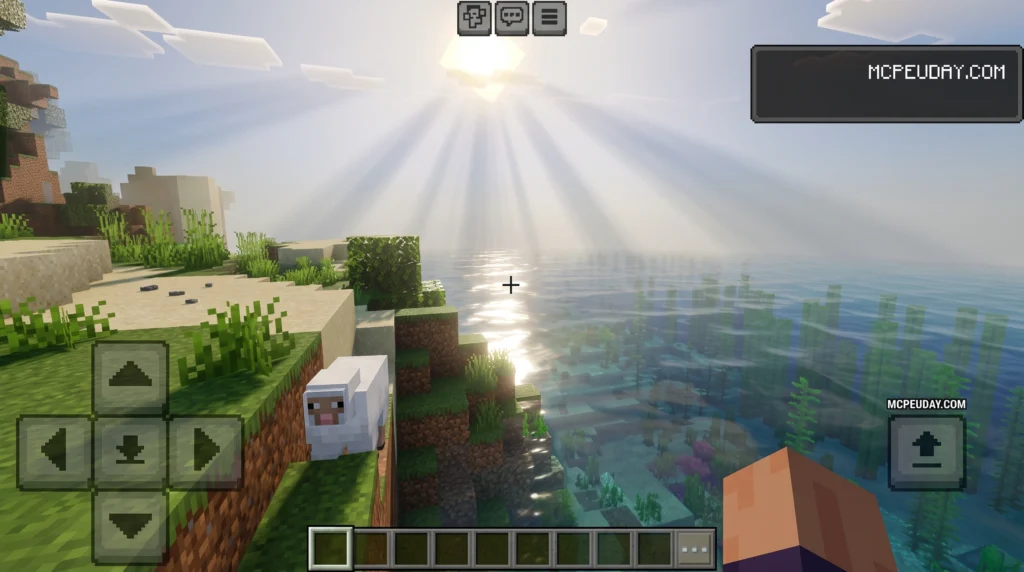
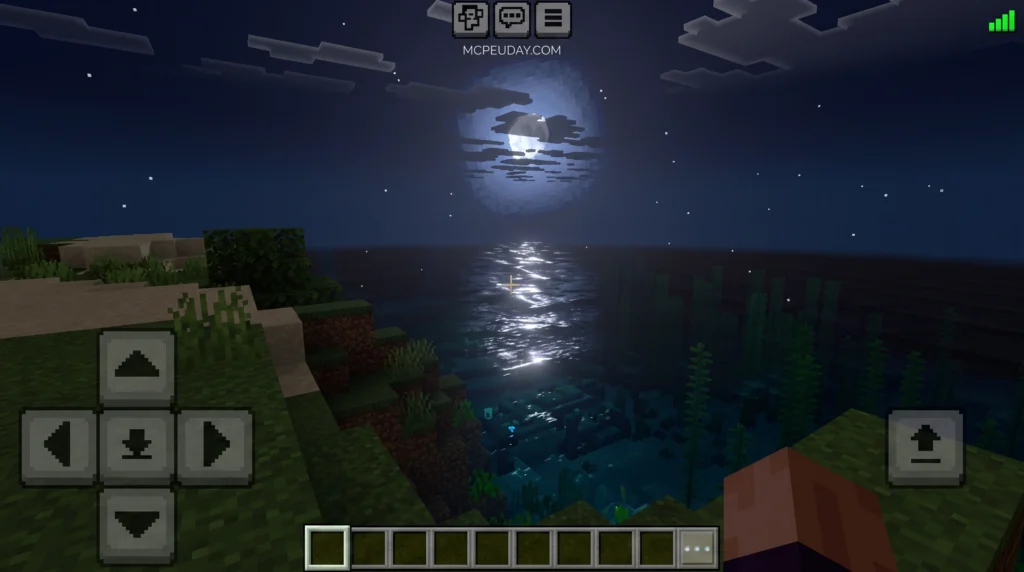
In practical gaming applications, these math principles are what allow custom packs like the Lumina Visuals Shader to render realistic, eye-pleasing lighting that dynamically adapts to the environment in real-time.
The LYGIA Luminance Shader Function across GLSL, HLSL, and WebGPU
When we build shaders across different platforms, writing these calculations from scratch can get repetitive. That is where LYGIA comes in. LYGIA is a highly popular, modular shader library designed to make graphics programming easier. It provides a built-in luminance function that supports multiple shading languages.
Depending on your target platform, the LYGIA luminance function adapts seamlessly:
- In GLSL, the function accepts a vec3 or vec4 color and returns a float using the Rec. 709 dot product.
- In HLSL, it uses float3 or float4 inputs to achieve the same result for DirectX-based pipelines.
- In WebGPU, which uses WGSL (and the modern WESL format with the .wesl suffix), the function is optimized for modern web-based GPU pipelines.
Using structured utilities like LYGIA helps developers achieve consistent color science across platforms. It is the same kind of cross-platform optimization that powers high-end mobile shaders like the Lumenix Ultra Shader, ensuring that lighting calculations remain fast and accurate whether you are playing on a phone, a tablet, or a high-end PC.
Integrating LuminanceMaterial and LuminancePass in Post-Processing
In web-based 3D applications, particularly those using Three.js, extracting luminance is a crucial step for post-processing effects like bloom (making bright lights glow). This is typically handled by two core components:
- The material file, which you can examine in src/materials/LuminanceMaterial.js | postprocessing. This material produces a grayscale map of the absolute light emitted by a scene. It can also output colors scaled with their luminance value or apply range masking to isolate specific brightness levels.
- The rendering pass, detailed in src/passes/LuminancePass.js | postprocessing. This pass takes the input buffer of the scene, applies the LuminanceMaterial, and renders the result to a dedicated render target.
By utilizing thresholding and smoothing uniforms within these passes, developers can mask out dark areas of the screen and only allow the brightest elements (like torches, lava, or the sun) to bleed into the bloom filter.
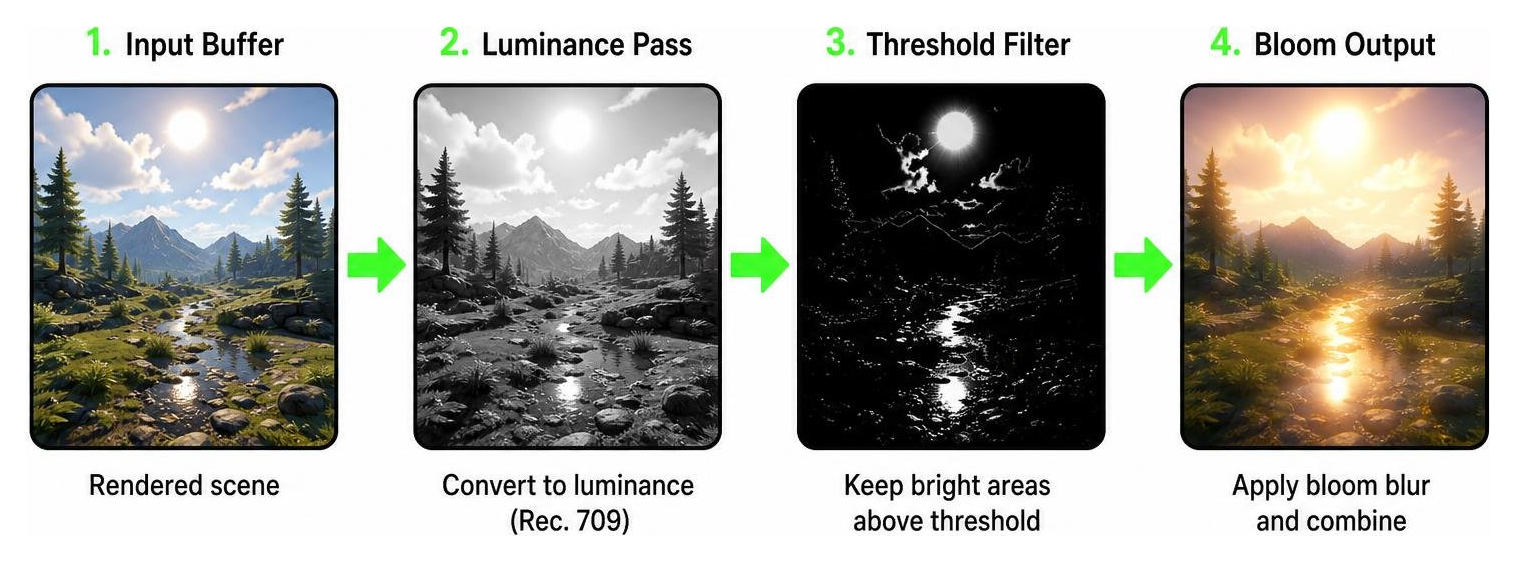
This exact post-processing logic is what gives packs like the Lumen Visual Shader their signature cinematic look, isolating bright spots to create gorgeous, glowing atmospheres.
The Rust luminance Crate: A Type-Safe, Stateless Graphics API
While a Luminance Shader is a specific algorithm used in shading languages, there is also a famous open-source Rust library named after this concept. The luminance – Rust crate is a simple, type-safe, and opinionated graphics API.
Unlike raw OpenGL, which is notorious for its global state machine and hard-to-track runtime errors, the Rust luminance crate is designed to be completely stateless. It leverages Rust’s powerful type system to catch graphics bugs at compile time rather than letting them crash your application or render a black screen at runtime.
For example, you cannot accidentally bind a vertex buffer to an incompatible shader program because the compiler checks the types of your vertex semantics and shader interfaces before your code even runs. It is a brilliant way to write clean, high-performance rendering code without the headache of managing raw graphics state.
Key Features of the Rust Luminance Shader Ecosystem
The shader module of this crate, documented at luminance::shader – Rust, is exceptionally robust. It supports up to five shader stages: vertex, tessellation control, tessellation evaluation, geometry, and fragment shaders.
Here are the core building blocks of the luminance ecosystem:
- Buffers: Type-safe storage for vertices, indices, and uniform data.
- Framebuffers: Render targets that hold color and depth slots, allowing developers to easily chain multiple rendering passes.
- Textures: Highly configurable GPU arrays (1D, 2D, and cube maps) for storing image data.
- Render State: Precise control over blending equations, depth testing, and face culling without relying on global state.
- Vertex Semantics: A system that maps Rust structs directly to shader inputs safely.
- Uniform Interfaces: A type-safe way to pass variables (like time, resolution, or camera matrices) from your Rust code to your shader programs.
This level of structured, type-safe rendering control is highly valued by systems developers who build custom engines. It mirrors the meticulous design required to build complex graphics packs, such as the Lumina Prime Renewed Shader, where every buffer and uniform must align perfectly to deliver smooth performance.
Backend Implementations, Windowing, and Cross-Platform Support
One of the greatest strengths of the Rust luminance framework is its backend-agnostic architecture. Instead of locking you into a single graphics API, the core crate defines traits that are implemented by separate backend crates (like OpenGL 3.3, WebGL2, or Vulkan).
To make life easier for developers, the project provides a crate called luminance-front. This helper crate automatically selects the best backend for your target platform at compile time, allowing you to write your rendering logic once and deploy it across desktop and web platforms seamlessly.
For windowing and context creation, luminance does not force a specific windowing library on you. Instead, it integrates beautifully with popular Rust windowing crates like glutin, glfw, or winit, giving you total freedom over how your application’s window is managed. This flexible, cross-platform approach is highly reminiscent of modern shader design, where engines like the Luvid Visuals Ultra Shader must adapt dynamically to different hardware configurations to maintain peak performance.
Comparing the Rust luminance Crate to Other Graphics Libraries
If you are choosing a graphics library for a Rust project in 2026, it is helpful to see how luminance stacks up against other popular options in the ecosystem:
| Library | Primary Target | API Style | Multi-Backend Support | Best Use Case |
|---|---|---|---|---|
| luminance | OpenGL 3.3 / WebGL2 | Type-safe, stateless, and scoped | Yes (via backend crates) | Custom rendering pipelines, cross-platform web/desktop apps |
| glium | OpenGL | Safe, direct mapping to OpenGL | No (OpenGL only) | Older projects, direct OpenGL learning |
| gfx | Vulkan / Metal / DX12 | Low-level abstraction | Yes (highly portable) | Heavy multi-backend native games |
| vulkano | Vulkan | Verbose, safe Vulkan wrapper | No (Vulkan only) | Vulkan-specific high-performance engines |
| amethyst | Full Game Engine | ECS-driven architecture | Yes | Complete 3D game projects (now historical) |
While libraries like gfx focus on low-level abstraction over modern native APIs, luminance prioritizes safety, simplicity, and an elegant developer experience. If you are targeting web and desktop platforms and want to avoid the massive boilerplate of Vulkan, luminance is an exceptional choice.
This balance of simplicity and visual power is highly sought after by developers and players alike. It is the same philosophy that guides our selection of top-tier visual upgrades, such as the Luvid Visuals Shader, which delivers stunning aesthetic improvements without bogging down your system’s performance.
Licensing, Versioning, and Practical Implementations
When integrating these tools into commercial or open-source projects, licensing is a key factor to keep in mind.
The LYGIA shader library is dual-licensed under the Prosperity License (which is free for non-commercial use but requires a paid license for commercial projects) and the Patron License. On the other hand, the Rust luminance crate is distributed under the highly permissive BSD-3-Clause license, making it incredibly friendly for both open-source and commercial game development.
In terms of versioning and maintenance, the Rust luminance crate has a rich history with over 216,833 total downloads, proving its stability in the ecosystem.
For those looking to implement custom shaders in gaming environments, resources like the guide on Redirecting… offer excellent step-by-step instructions on how to inject custom shader files into resource packs. This allows you to combine custom shader math with beautifully stylized visual packs like the Lotiif Visuals Shader to completely transform your game’s visual identity.
Frequently Asked Questions about Luminance Shaders
How do I compute luminance in a custom fragment shader?
To compute luminance in a custom fragment shader, you need to perform a dot product between your input RGB color and the standard perceptual weights. As discussed in community solutions like the iphone – Fragment Shader – Average Luminosity – Stack Overflow thread, you can write this inline in GLSL:
float luma = dot(color.rgb, vec3(0.2126, 0.7152, 0.0722));
If you are working with older standard-definition color spaces, you might occasionally see the coefficients set to 0.299, 0.587, and 0.114. However, for modern HD rendering, the Rec. 709 coefficients are the standard. This simple math is what enables packs like the Luxen Visuals Shader to calculate real-time brightness and apply gorgeous exposure adjustments on the fly.
What is the difference between the LYGIA Luminance Shader and the Rust luminance crate?
The difference lies entirely in scope and purpose:
- The LYGIA luminance shader is a single, reusable mathematical function written in shading languages (GLSL/HLSL/WGSL) used to calculate the perceived brightness of a pixel.
- The Rust luminance crate is a comprehensive, low-level graphics framework used to build entire rendering engines, manage GPU memory, compile shaders, and draw 3D objects.
While you might use the Rust luminance crate to compile and run a shader that contains the LYGIA luminance function, they are completely different tools. This distinction is clear when comparing modular shader upgrades like the Lumenix Shader V2, which focus purely on optimizing the on-screen shader code to deliver maximum visual fidelity.
How does Minecraft handle custom luminance and lighting shaders?
Minecraft Bedrock and Java Editions handle shaders through distinct rendering engines. In Java Edition, players use mods like Iris or OptiFine to load custom GLSL shaders. In Bedrock Edition, the modern Render Dragon engine uses specialized material files to calculate lighting, shadows, and reflections.
By combining custom shader files with high-resolution texture packs, such as the Lumina-32x Texture Pack, players can achieve incredibly realistic lighting where emissive blocks (like glowstone or sea lanterns) cast physically accurate, glowing light across the terrain.
Conclusion
Luminance shaders are the unsung heroes of modern computer graphics. By translating raw RGB colors into human-perceived brightness, they enable the stunning bloom, exposure, and HDR effects that make virtual worlds feel alive. Whether you are writing low-level Rust code with the type-safe luminance crate, integrating post-processing passes in WebGL, or upgrading your favorite sandbox game, understanding these principles is key to mastering game development and graphics rendering.
At MCPEUDAY, we are dedicated to bringing you the absolute best graphics upgrades, mods, and resources. If you are ready to experience these cutting-edge lighting effects in your own game, be sure to check out our handpicked list of the Best Shaders for MCPE 1.21 2026 to transform your world today!
Download
Download Shader
MORE SHADERS- Shaders – MCPEUDAY
Free with Minecraft Marketplace All Packs – Click and Join